
Advanced techniques
Freeze time: high-speed photography starts at home
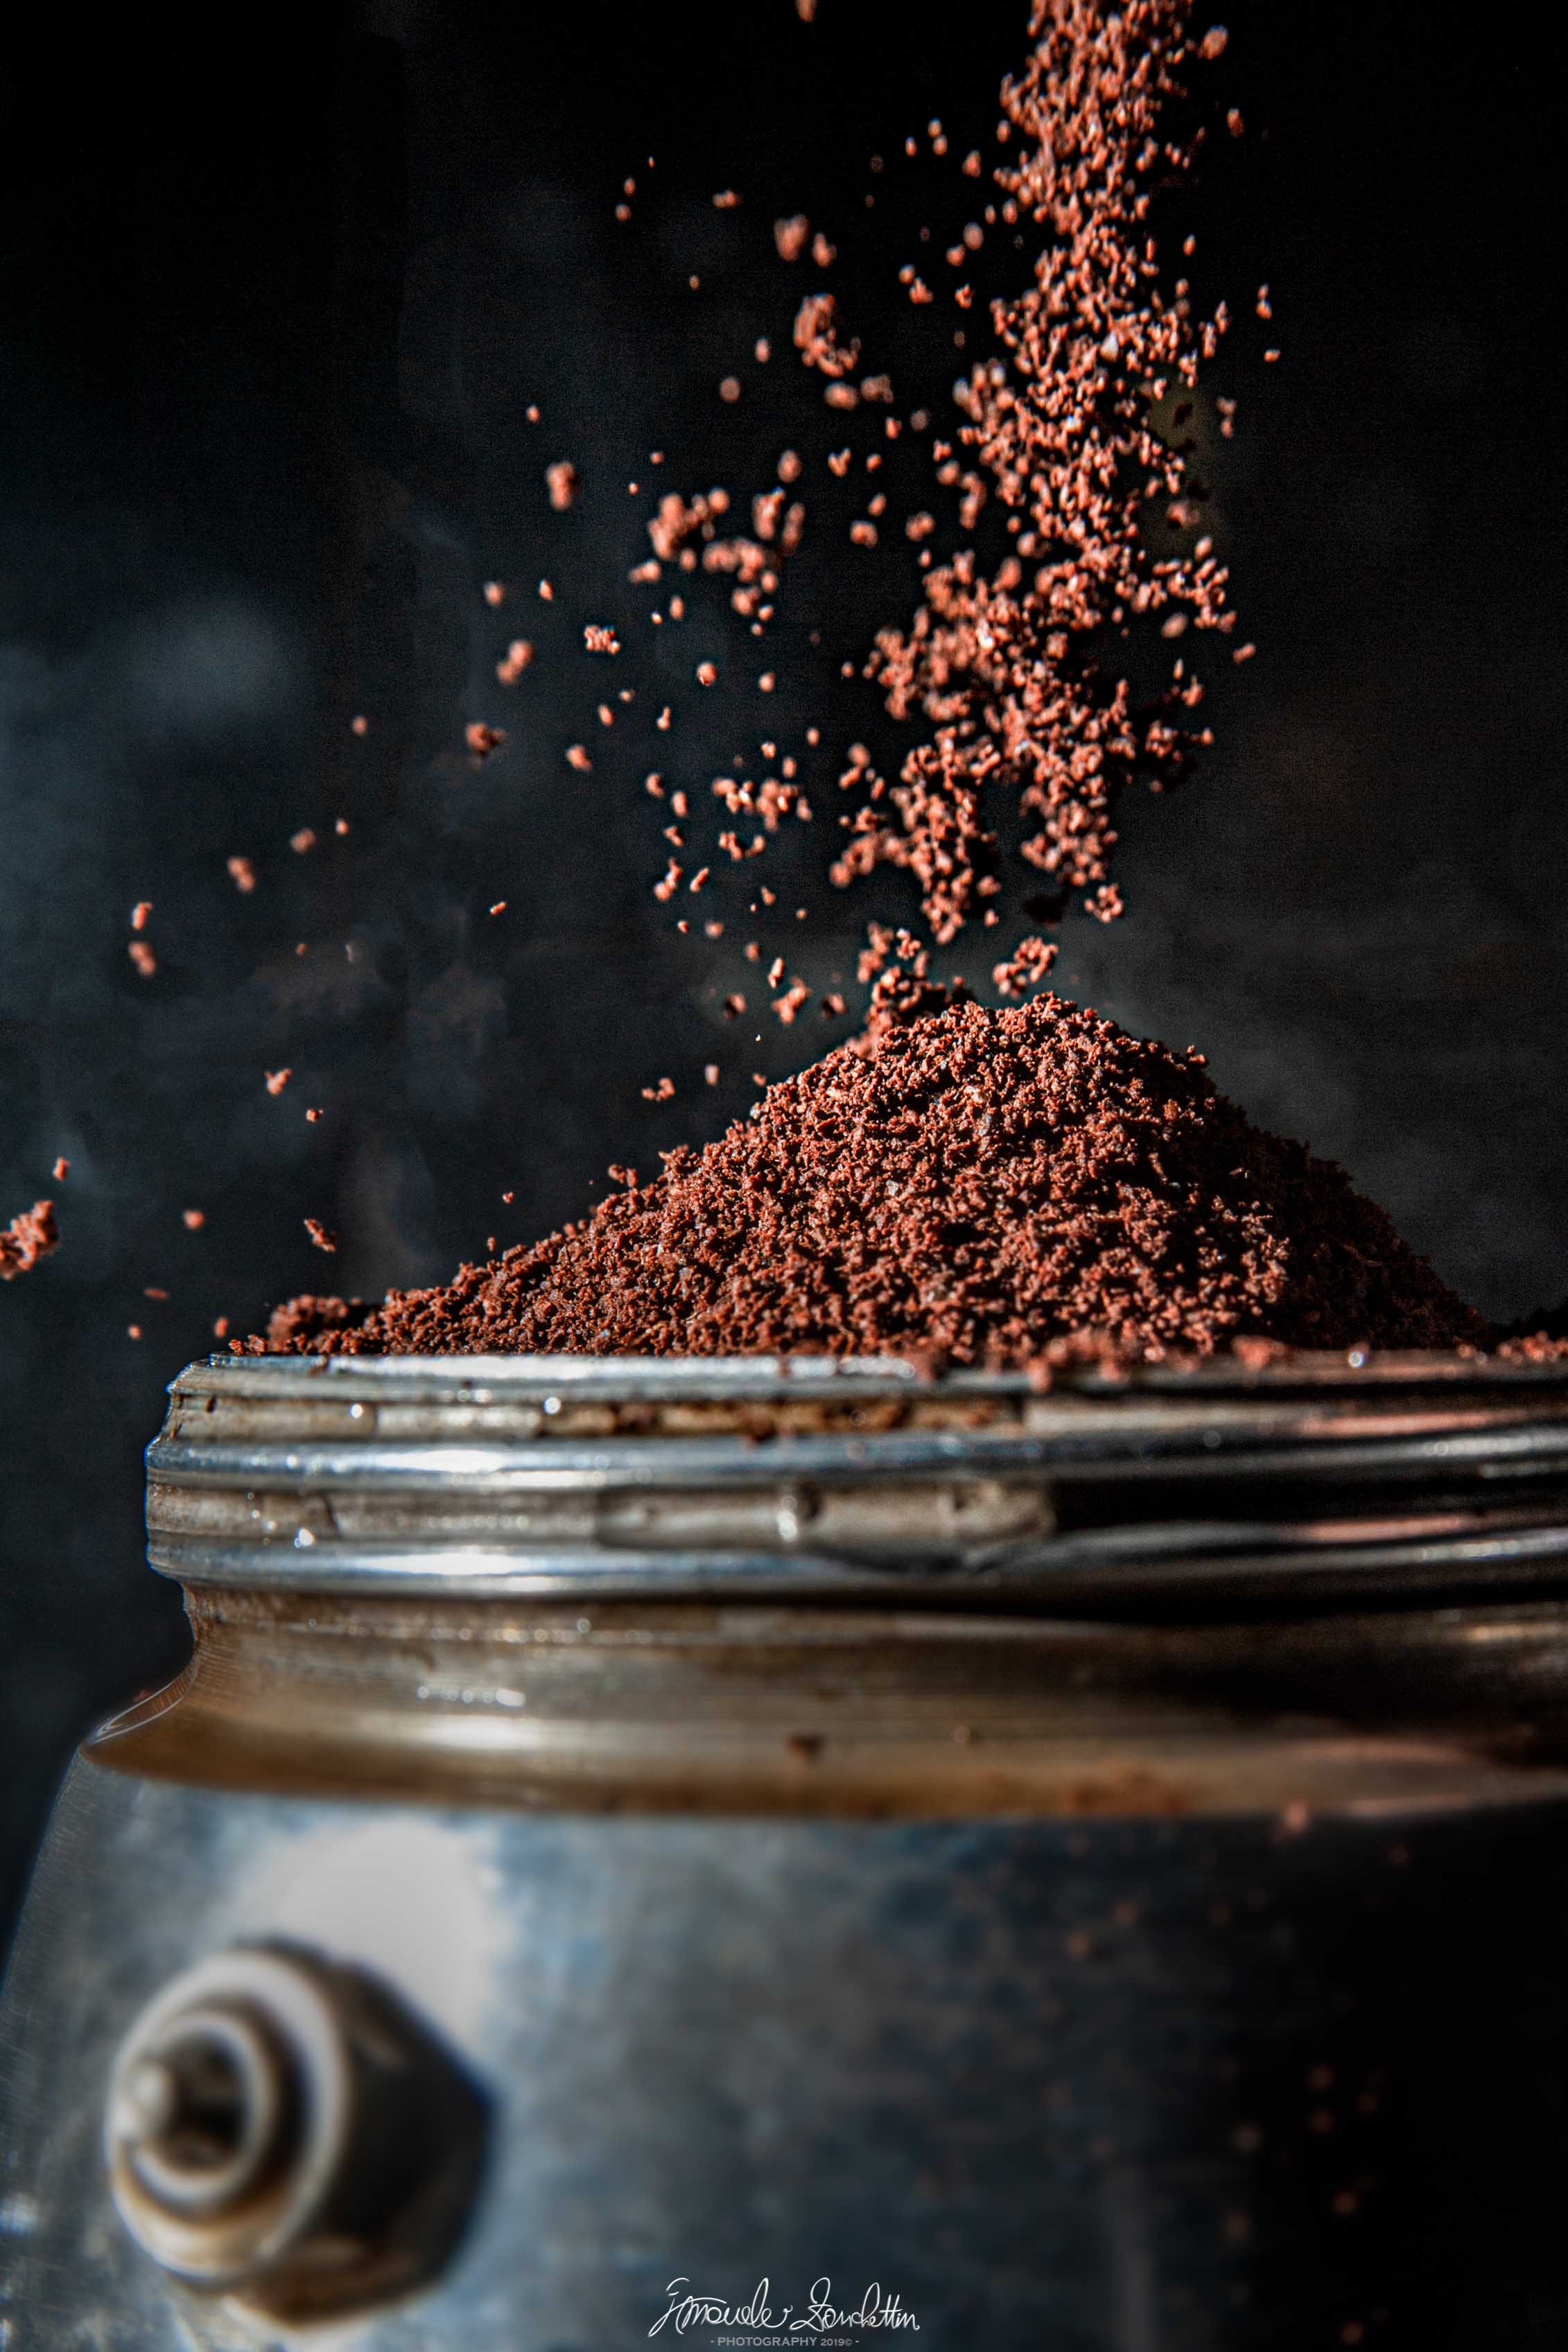
A spoonful of coffee, a wet brush and a splash of water are completely ordinary—until a photograph isolates an instant our eyes cannot hold. Start with small, controlled experiments at home and you will learn how to recognise extraordinary moments across the wider world.
The short version
- High-speed photography is about the duration of the recorded light, not simply the camera’s burst rate.
- A fast shutter can freeze action in strong continuous light; a brief flash pulse can freeze it indoors.
- A repeatable setup, pre-focused camera and deliberate timing matter more than taking hundreds of random frames.
- Begin with a safe tabletop experiment, then carry the same habits into portraits, weather, sport, wildlife and the world around you.
An ordinary subject can reveal an unfamiliar instant
We see coffee, running water and household objects every day, but we normally see them as continuous movement. The camera can interrupt that movement. Individual grains become a cloud, a stream becomes a chain of shapes and one splash becomes a temporary sculpture.
That is the attraction of high-speed capture: the subject does not need to be rare. The unusual part is the slice of time. Starting at home gives you control over the background, light and repetition, so you can learn the technique before applying it to less predictable subjects.
Fast shutter or short flash: two ways to freeze movement
In bright daylight or under powerful continuous lighting, a genuinely fast shutter—often somewhere around 1/1000 second or faster as a starting point—can stop many kinds of action. You may need a wider aperture or higher ISO to keep the exposure bright enough. Faster is not automatically better: choose only the speed needed to describe the subject clearly.
Indoors, a flash can provide most of the exposure in a pulse much shorter than the camera’s shutter time. Many speedlights produce their shortest flash durations at lower manual power. Work at or below your camera’s normal flash-sync speed, reduce the ambient contribution and check the flash manual for its published duration. A test frame made without the flash should be very dark; otherwise the continuous light may leave a second, ghosted trace.
Burst rate and shutter speed solve different problems. Frames per second affect how often the camera samples the action; shutter speed or flash duration determines how much motion each frame records. High-speed sync is also not a shortcut for every splash: it pulses the flash across the shutter movement, usually reduces available power and may not freeze motion as effectively as one short conventional pulse.
Build a small, repeatable stage
Fix the camera on a tripod or firm support and decide exactly where the action will happen. Place a temporary object at that point, focus on it, then switch to manual focus so the lens does not search when the real event begins. A small aperture can give you more working depth, but it also demands more light.
Use a plain background and light from the side or slightly behind the action. Droplets, translucent edges and airborne particles become clearer when the light skims through or around them. Leave enough space in the frame for the movement to expand, and keep the background far enough away that it does not compete.
- Mark the release point and landing area so each attempt happens in the same plane.
- Lock focus, exposure, white balance and camera position before starting the repetitions.
- Use a remote release, self-timer or assistant when it helps keep hands away from the camera.
- Change one variable at a time: timing, flash position, power, quantity or direction.
Use light to separate every drop
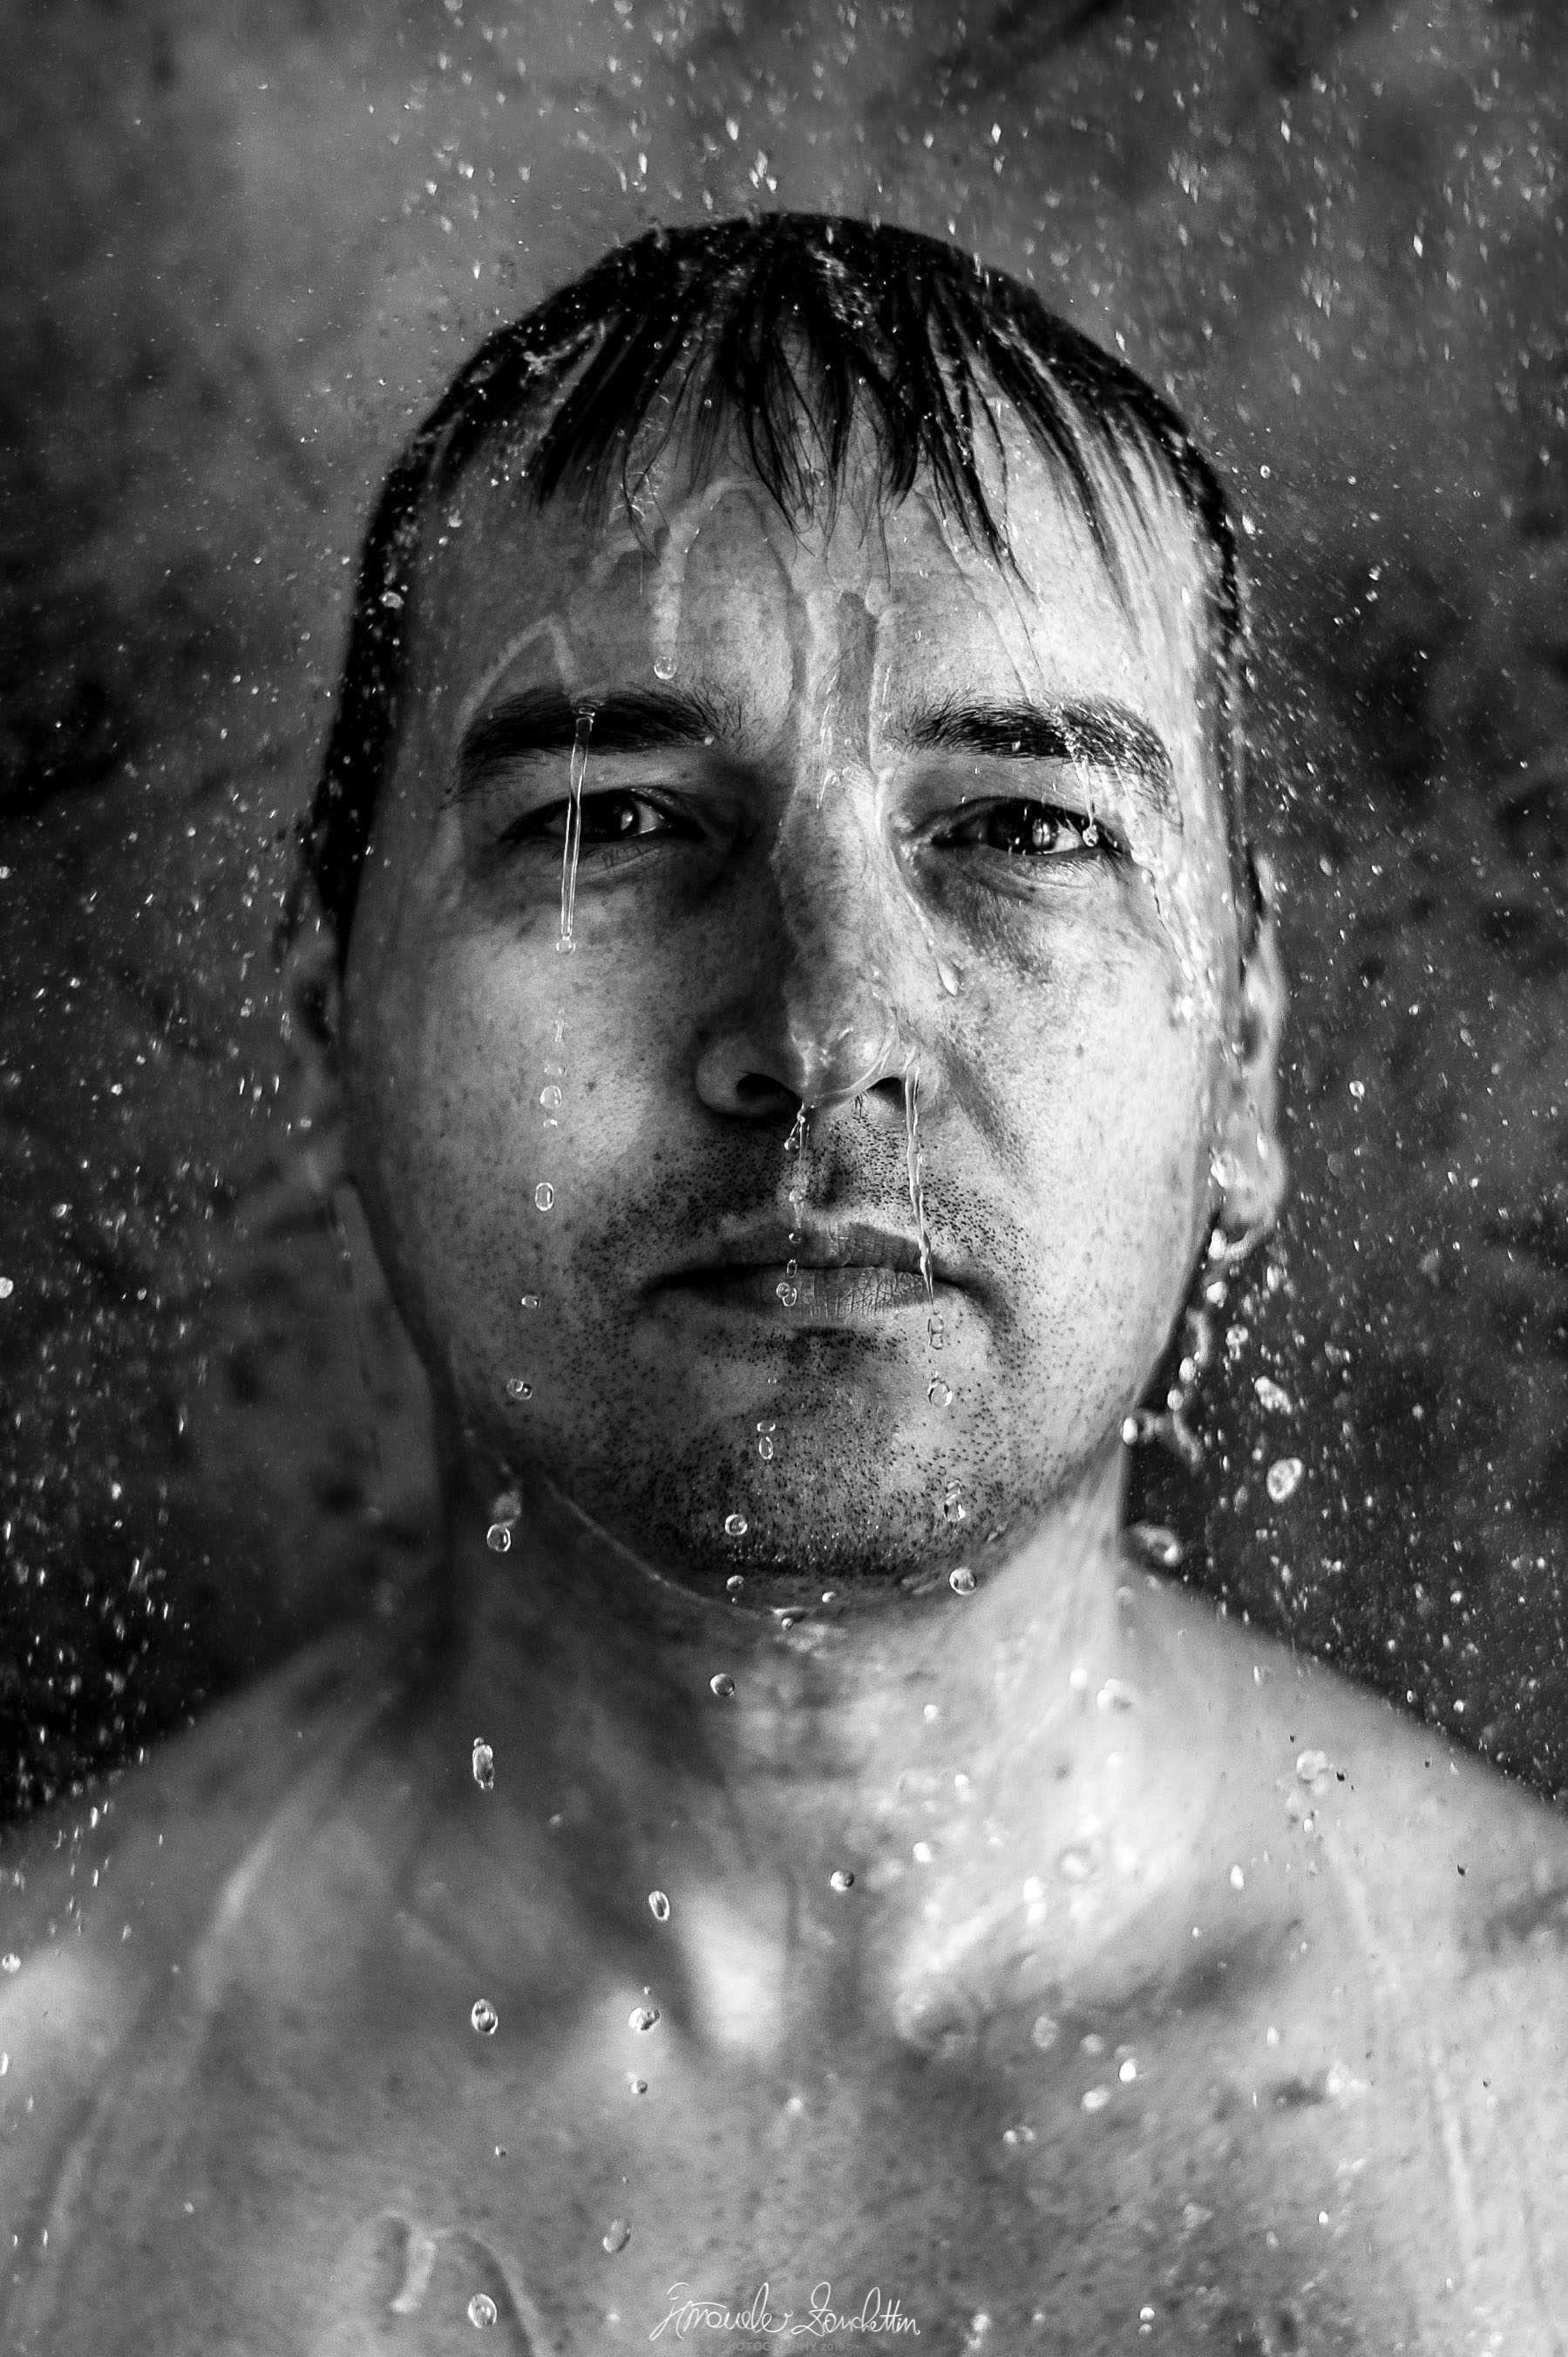
The black-and-white portrait is more complex than a tabletop splash, but it demonstrates the same principle. Light catches the moving water from different directions, while the face gives the suspended drops scale and emotional weight. Converting colour is not what freezes the water; it simply lets tone, expression and texture carry the picture.
A photograph involving water and a person requires consent, comfort, a non-slip environment and careful separation between water and all electrical equipment. Start with objects over a tray. Move to a portrait only when the setup is controlled, the participant understands the process and another person can help monitor safety.
Anticipate the moment instead of chasing it
Shutter lag, flash recycling and human reaction all make perfect timing difficult. Create an action you can repeat, watch its rhythm and release just before the moment you want. Continuous shooting can improve the odds, but a deliberate sequence teaches more than holding the button and hoping.
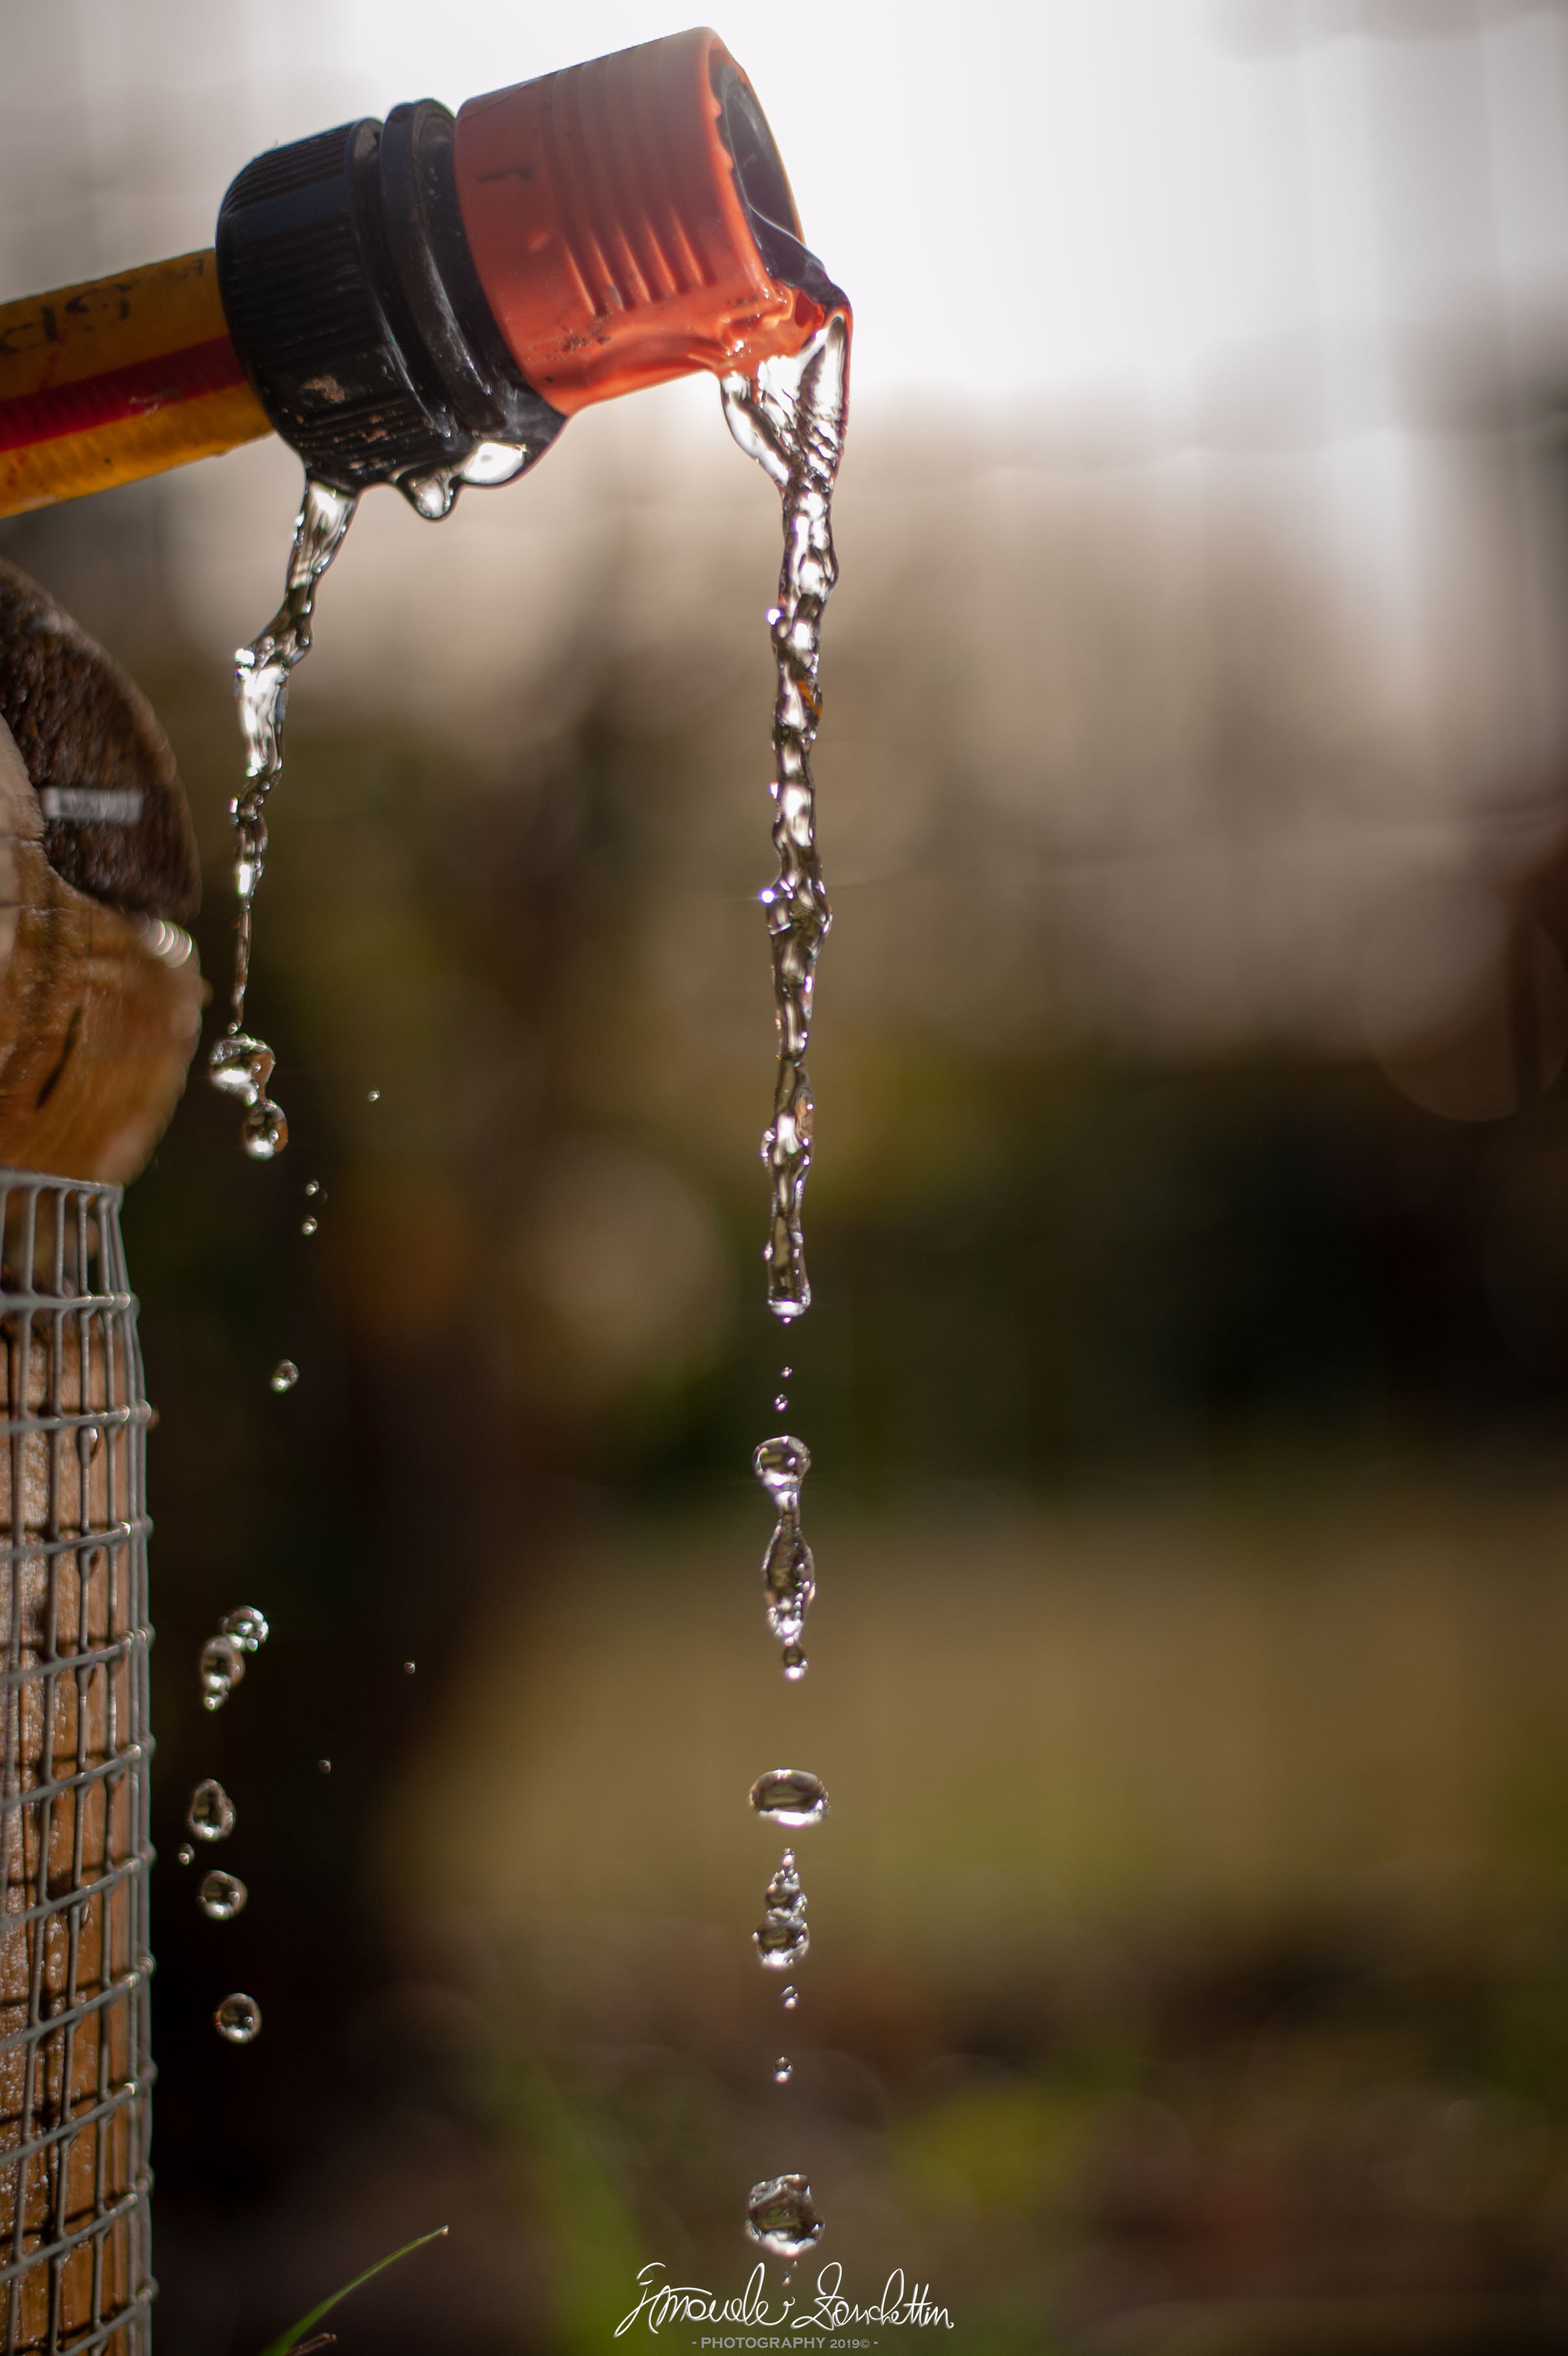
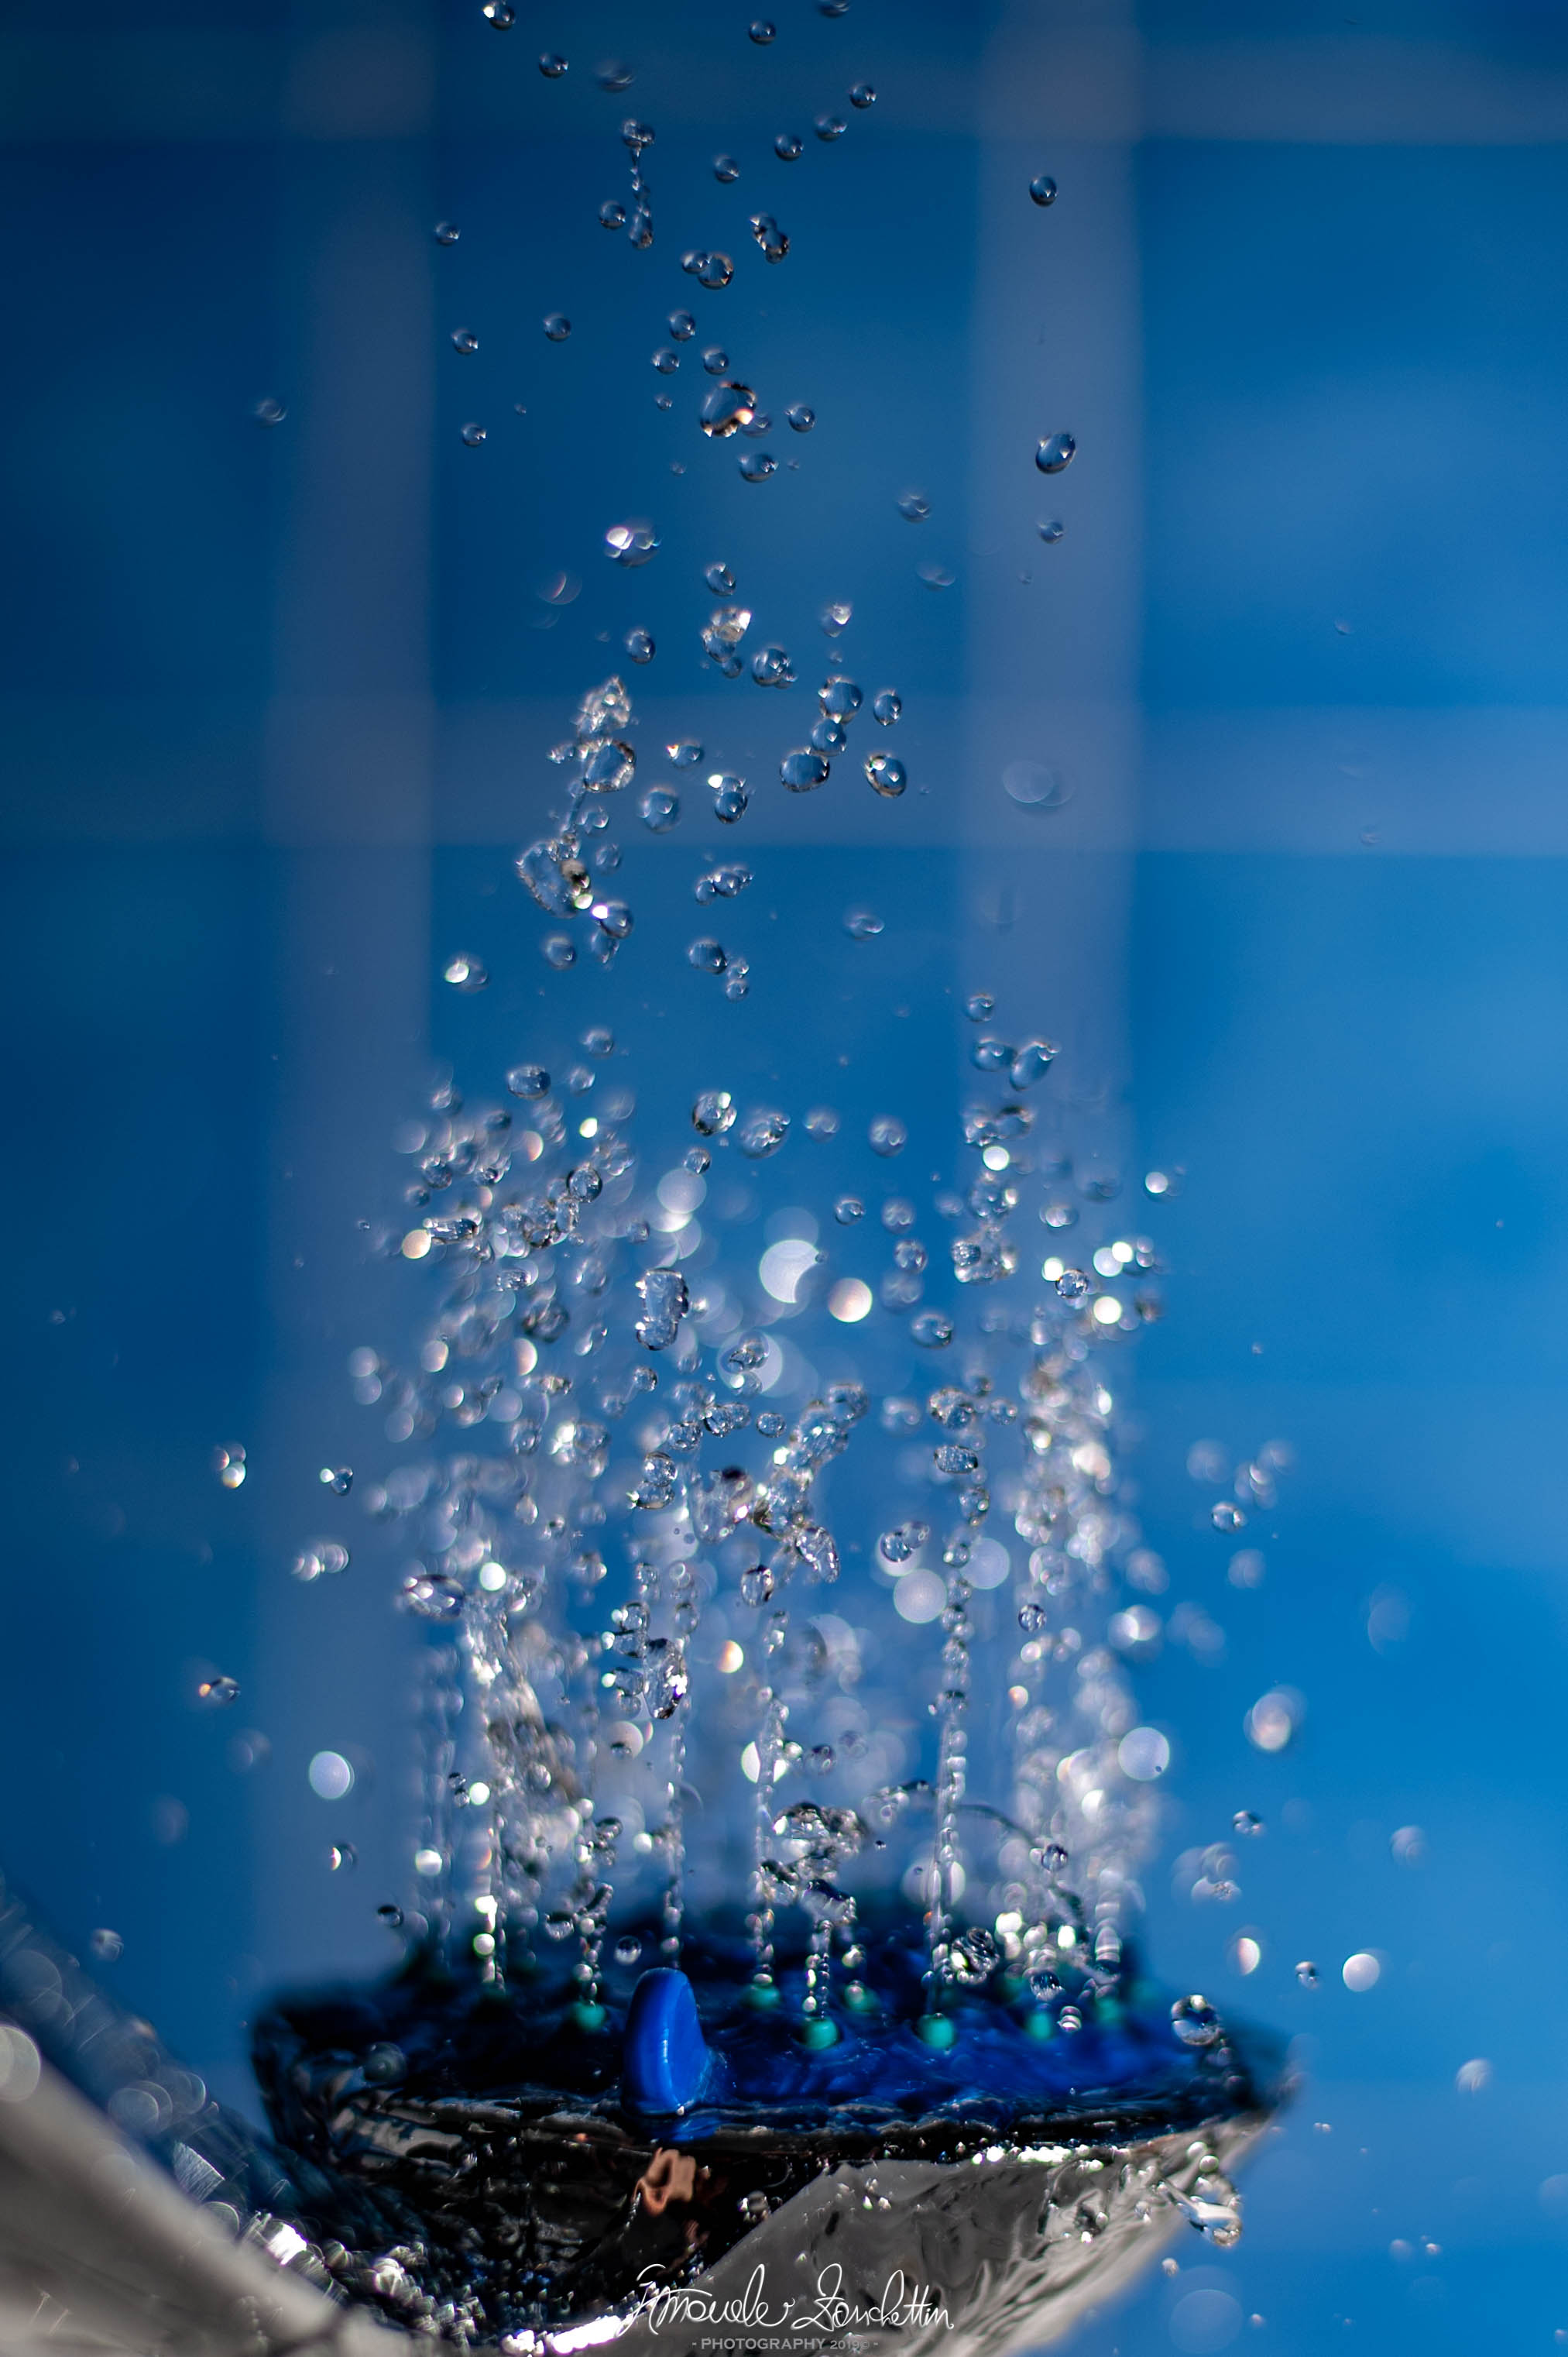
The dripping brush creates a predictable departure point, making focus and timing easier to study. The larger splash is less orderly: some drops are sharp, others overlap or fall outside the narrow focus zone. Both results are useful. Review where the sharpest particles appear and adjust the focus plane, depth of field or release timing for the next attempt.
Try one controlled experiment at home
Begin dry if possible. Pour a small quantity of coffee beans, rice or another easy-to-collect material into a bowl while a side light separates it from a dark background. Once the framing and timing work, try clean water in a deep tray using only a small dropper or spoon. Keep the camera well outside the splash zone and enlarge the result later with the built-in viewer.
Make five attempts without changing anything. Then move the light, change the release height or adjust the timing—but only one of those. Compare the groups rather than judging a single lucky frame. The aim is to understand why an arrangement became clearer, not merely to collect an accidental spectacle.
Then take the habit into the wider world
The home experiment teaches four transferable habits: predict where action will happen, prepare focus before it arrives, choose how the light will describe it and release with intention. Outdoors, those habits apply to rain against a dark street, sea spray, birds taking flight, a football leaving a boot, hair moving during a portrait or dust rising from a path.
The world gives you less control, so observation replaces repetition. Learn the rhythm of the action, leave room for movement and decide which instant carries the story. Do not take risks or obstruct other people for a photograph. The advanced technique is not simply using a fast setting—it is becoming ready for a moment that will not wait.
Readers’ thoughts
Approved comments only · Shared across the English and Italian versions