
Night photography
Night photography—with or without a tripod
Night transforms the world you are used to seeing. Familiar streets become arrangements of colour, shadow, reflections and moving light. The exposure triangle has not changed, but the balance becomes more demanding: the brightest sign and the darkest pavement may share one frame, while a fraction of a second can decide whether movement looks accidental or expressive. These photographs show several ways to work after sunset, from blue hour to long exposure and from a tripod to the support already around you.
The short version
- The basic exposure rules do not change at night; available light simply makes every trade-off more visible.
- A tripod is strongly recommended for deliberate long exposures, but a wall, backpack or higher ISO can solve a different kind of night photograph.
- Movement and vibration are not the same problem: allow subject movement when it tells the story, but keep the camera stable when the scene must remain sharp.
Let the night change the subject
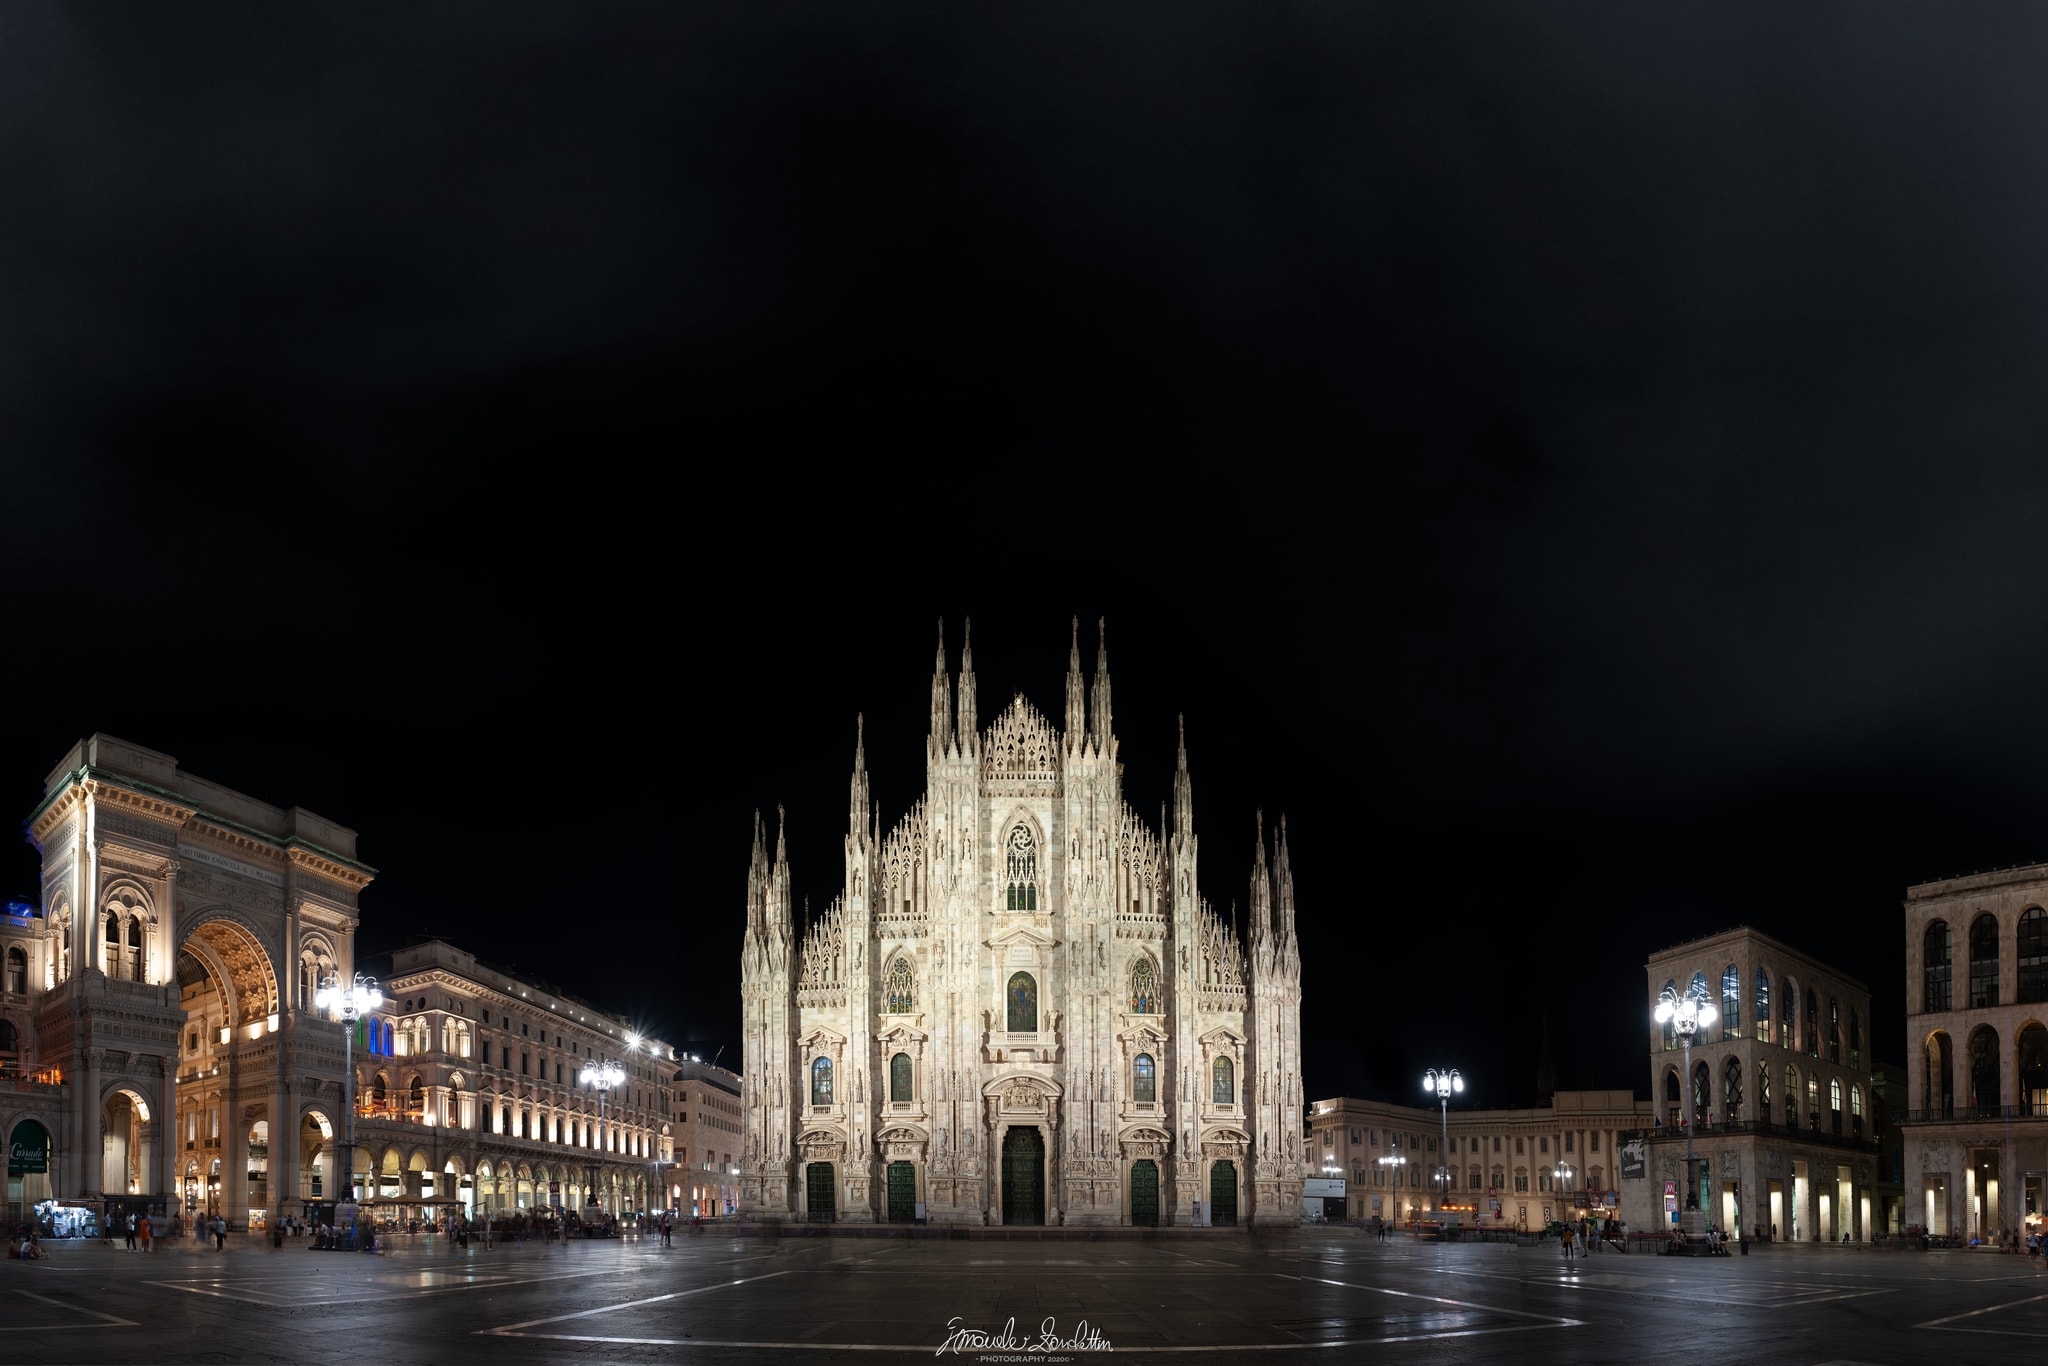
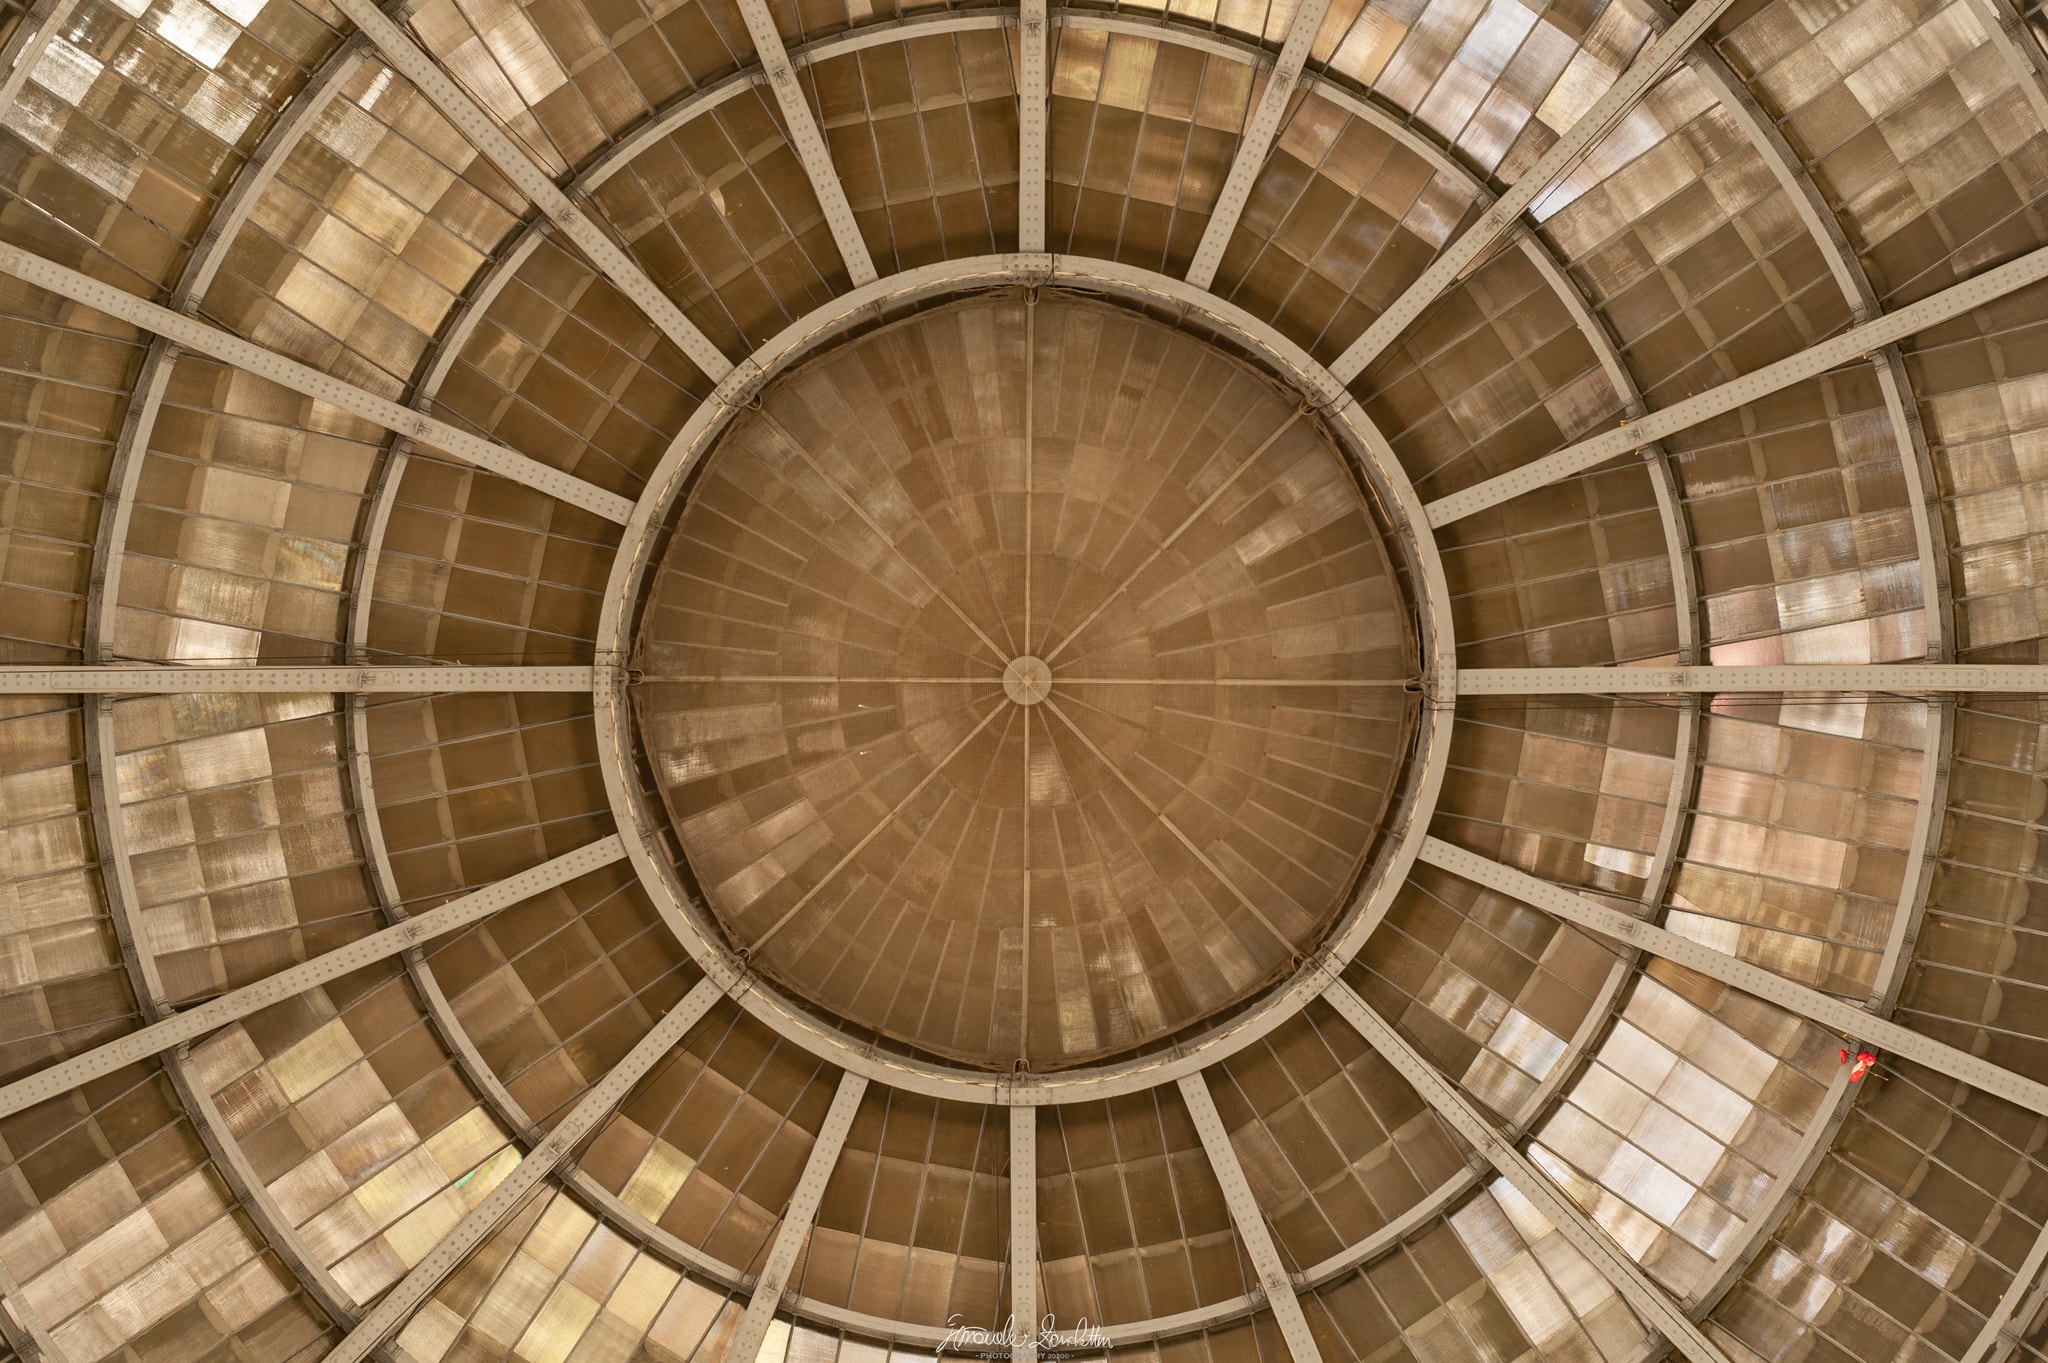
At night, light no longer describes everything equally. A floodlit façade can float against an almost black sky; a station roof becomes a pattern of circles and radial lines. Darkness is not empty information that must always be recovered. It can simplify a busy place and decide what the viewer sees first.
Begin with the same question you would ask during the day: what is the photograph about? Then watch what the artificial light selects, what the shadows remove and where reflections repeat the brightest shapes. Expose for the atmosphere you see rather than automatically trying to make the frame look like daylight.
Start before full darkness
Blue hour is the short transition after sunset when the sky still holds colour and the city lights are already visible. It is often easier than a completely black sky because ambient and artificial light are closer in brightness. Arrive early enough to choose the viewpoint and make test frames before the balance disappears.
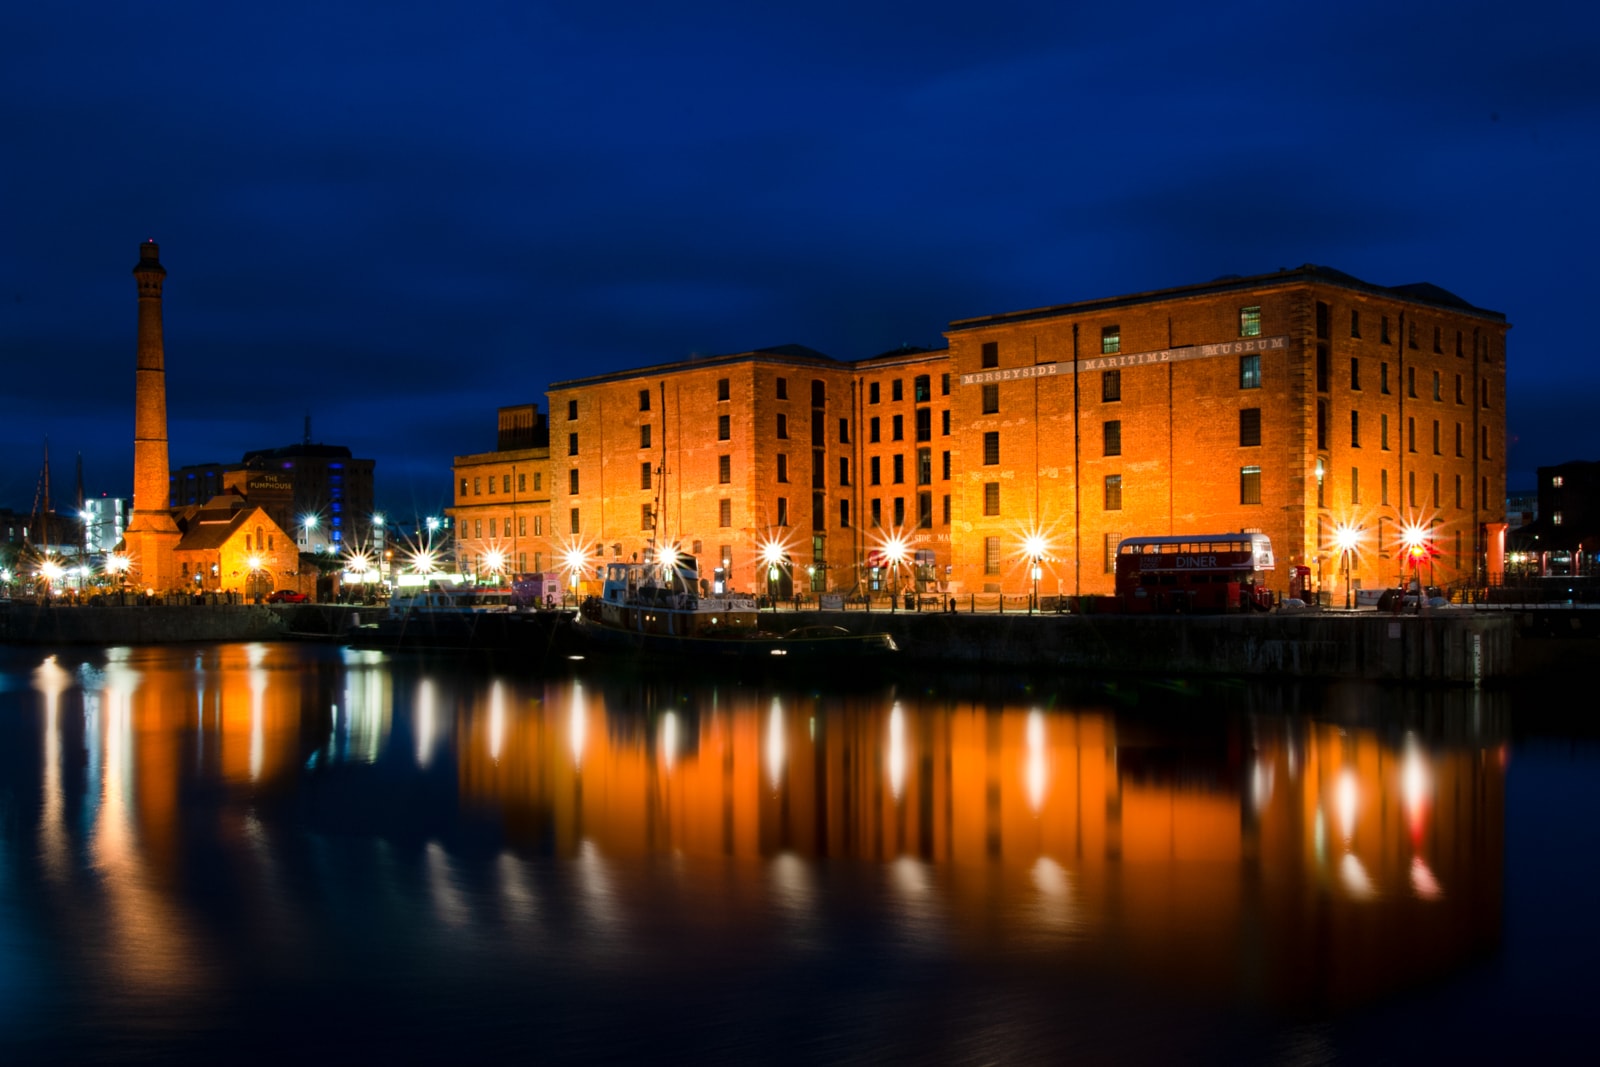
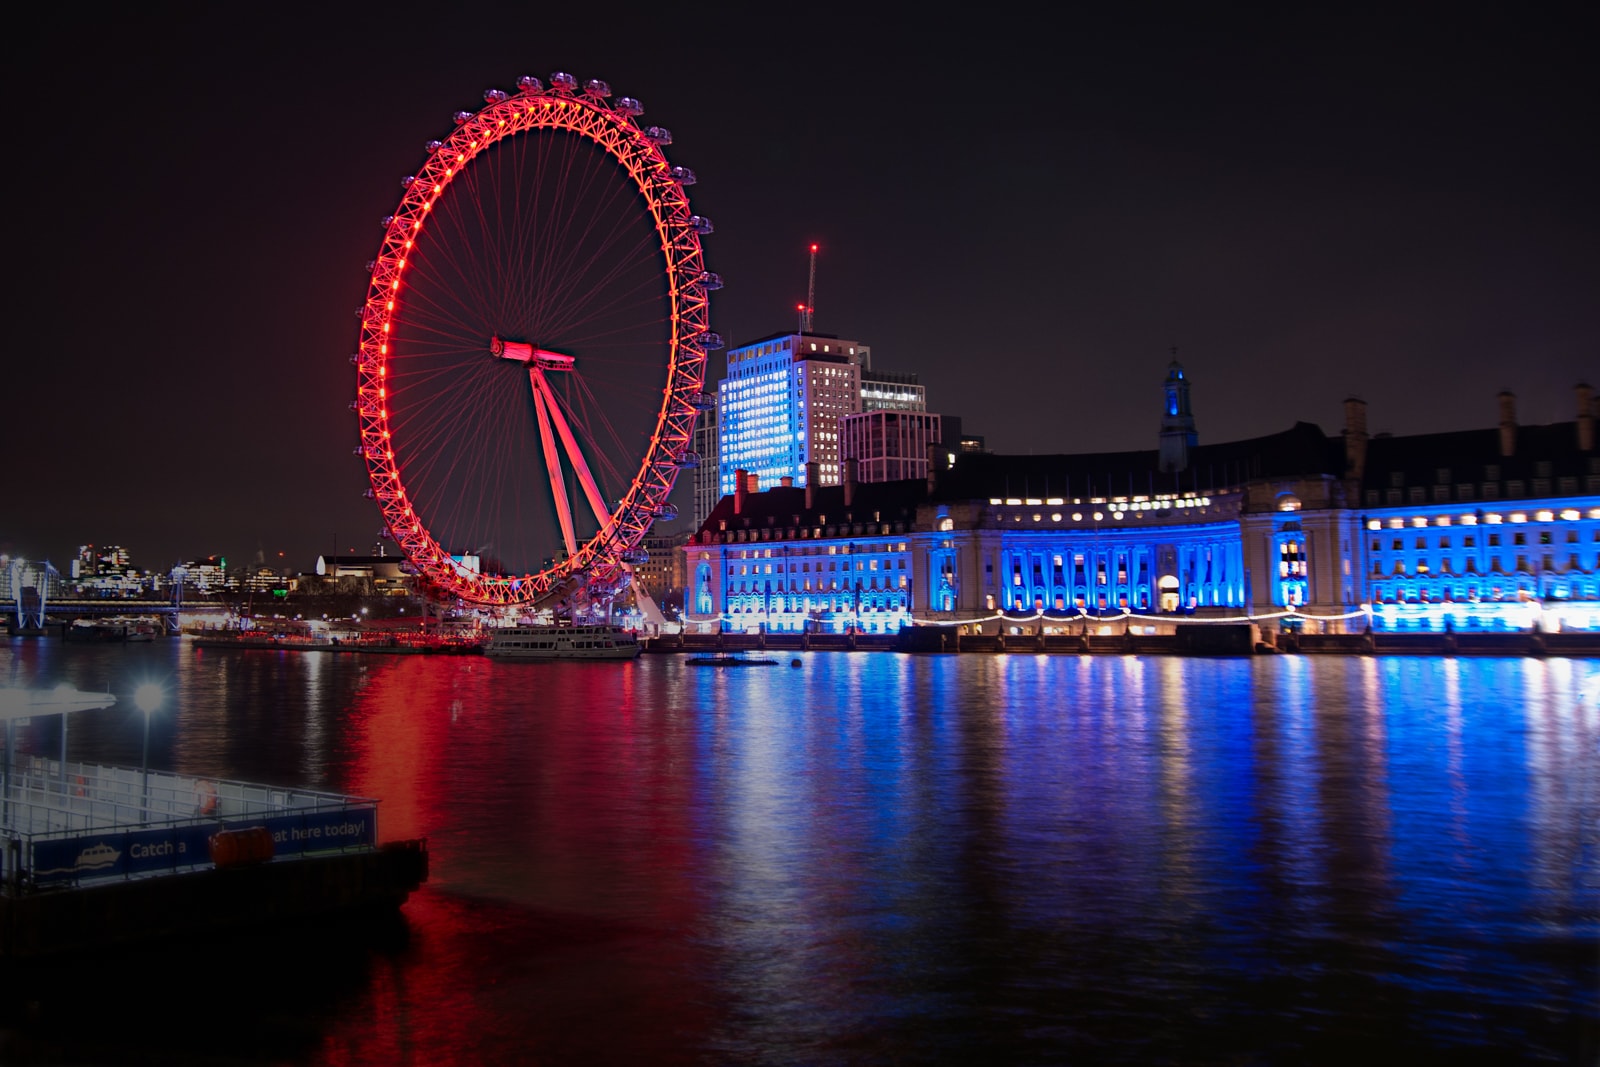
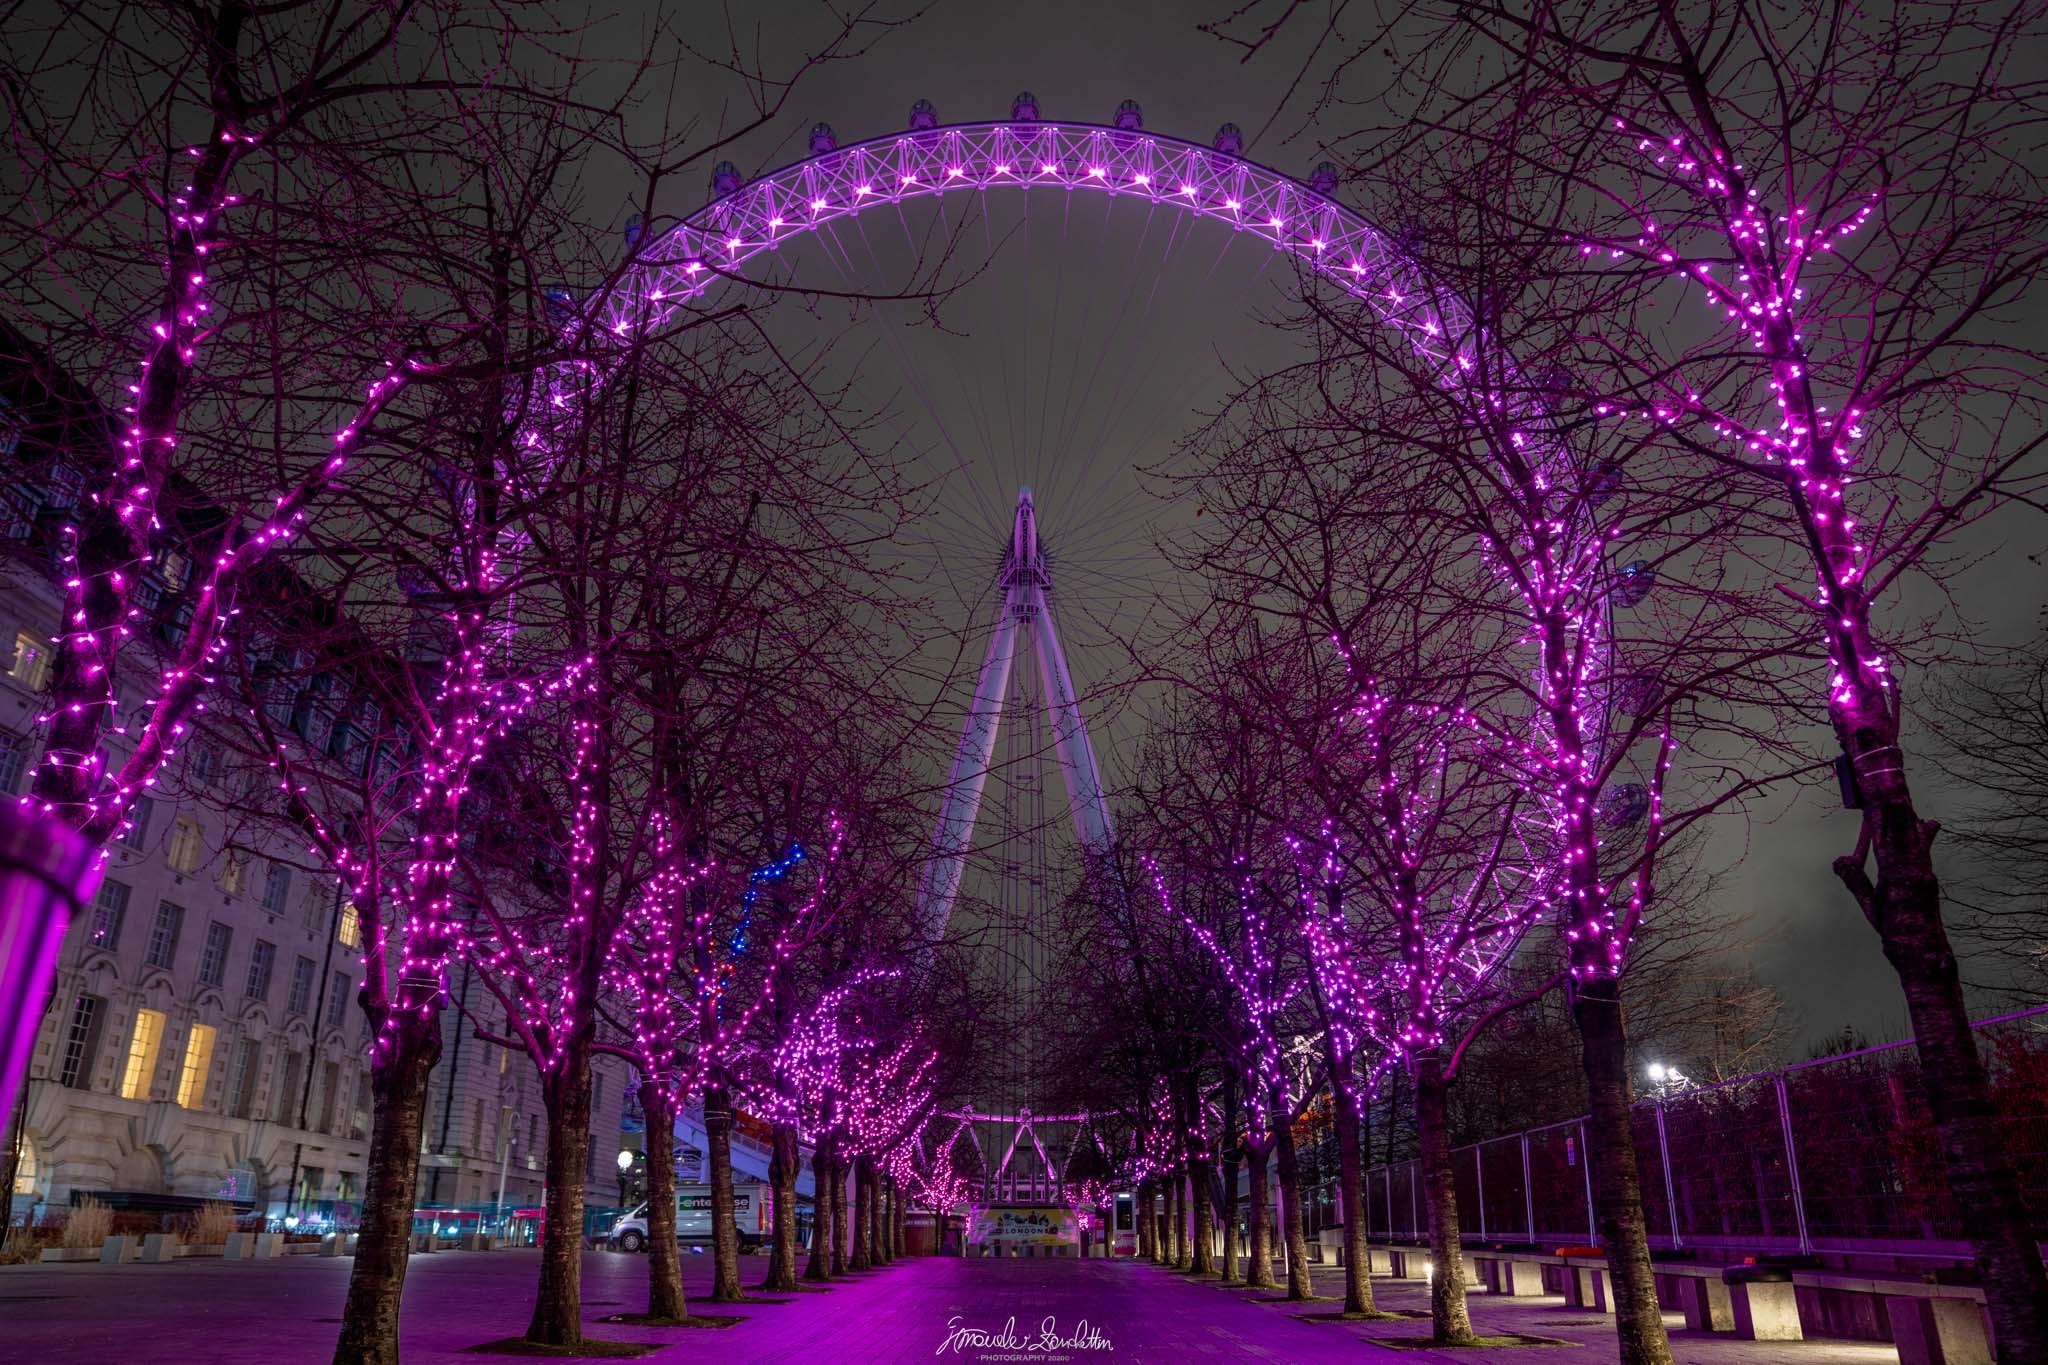
The Liverpool waterfront uses a 25-second exposure at f/22, ISO 100 and 23 mm. The small aperture helps point lights form starbursts, although f/22 is not a rule and can reduce fine detail through diffraction. The London Eye uses a much wider f/2.8 aperture and only 2.5 seconds. Both are night photographs; their different settings serve different visual decisions.
When the tripod earns its place
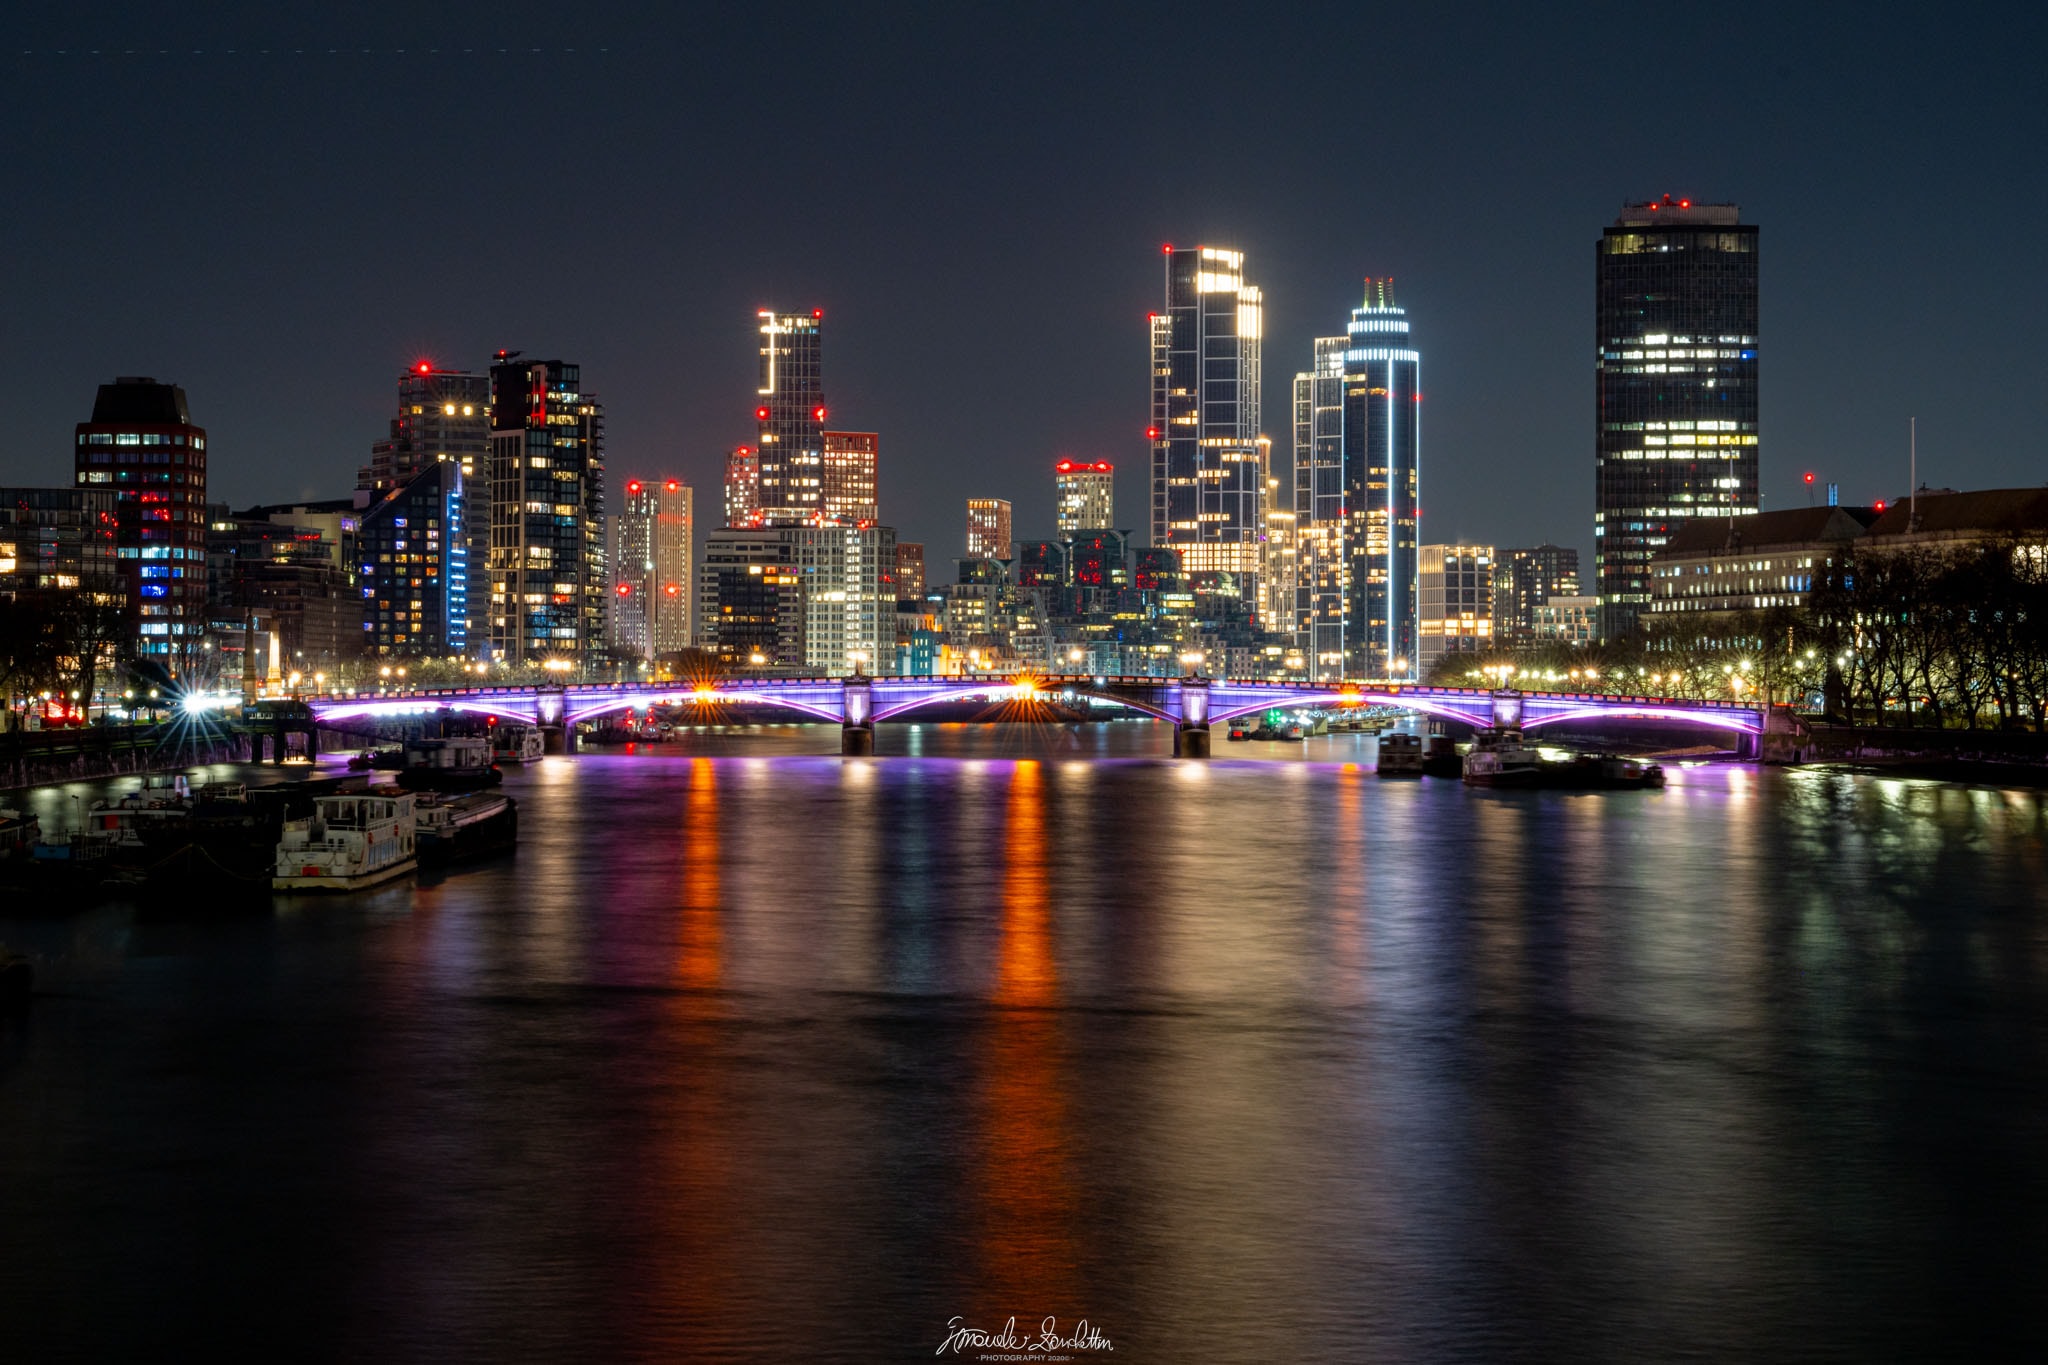
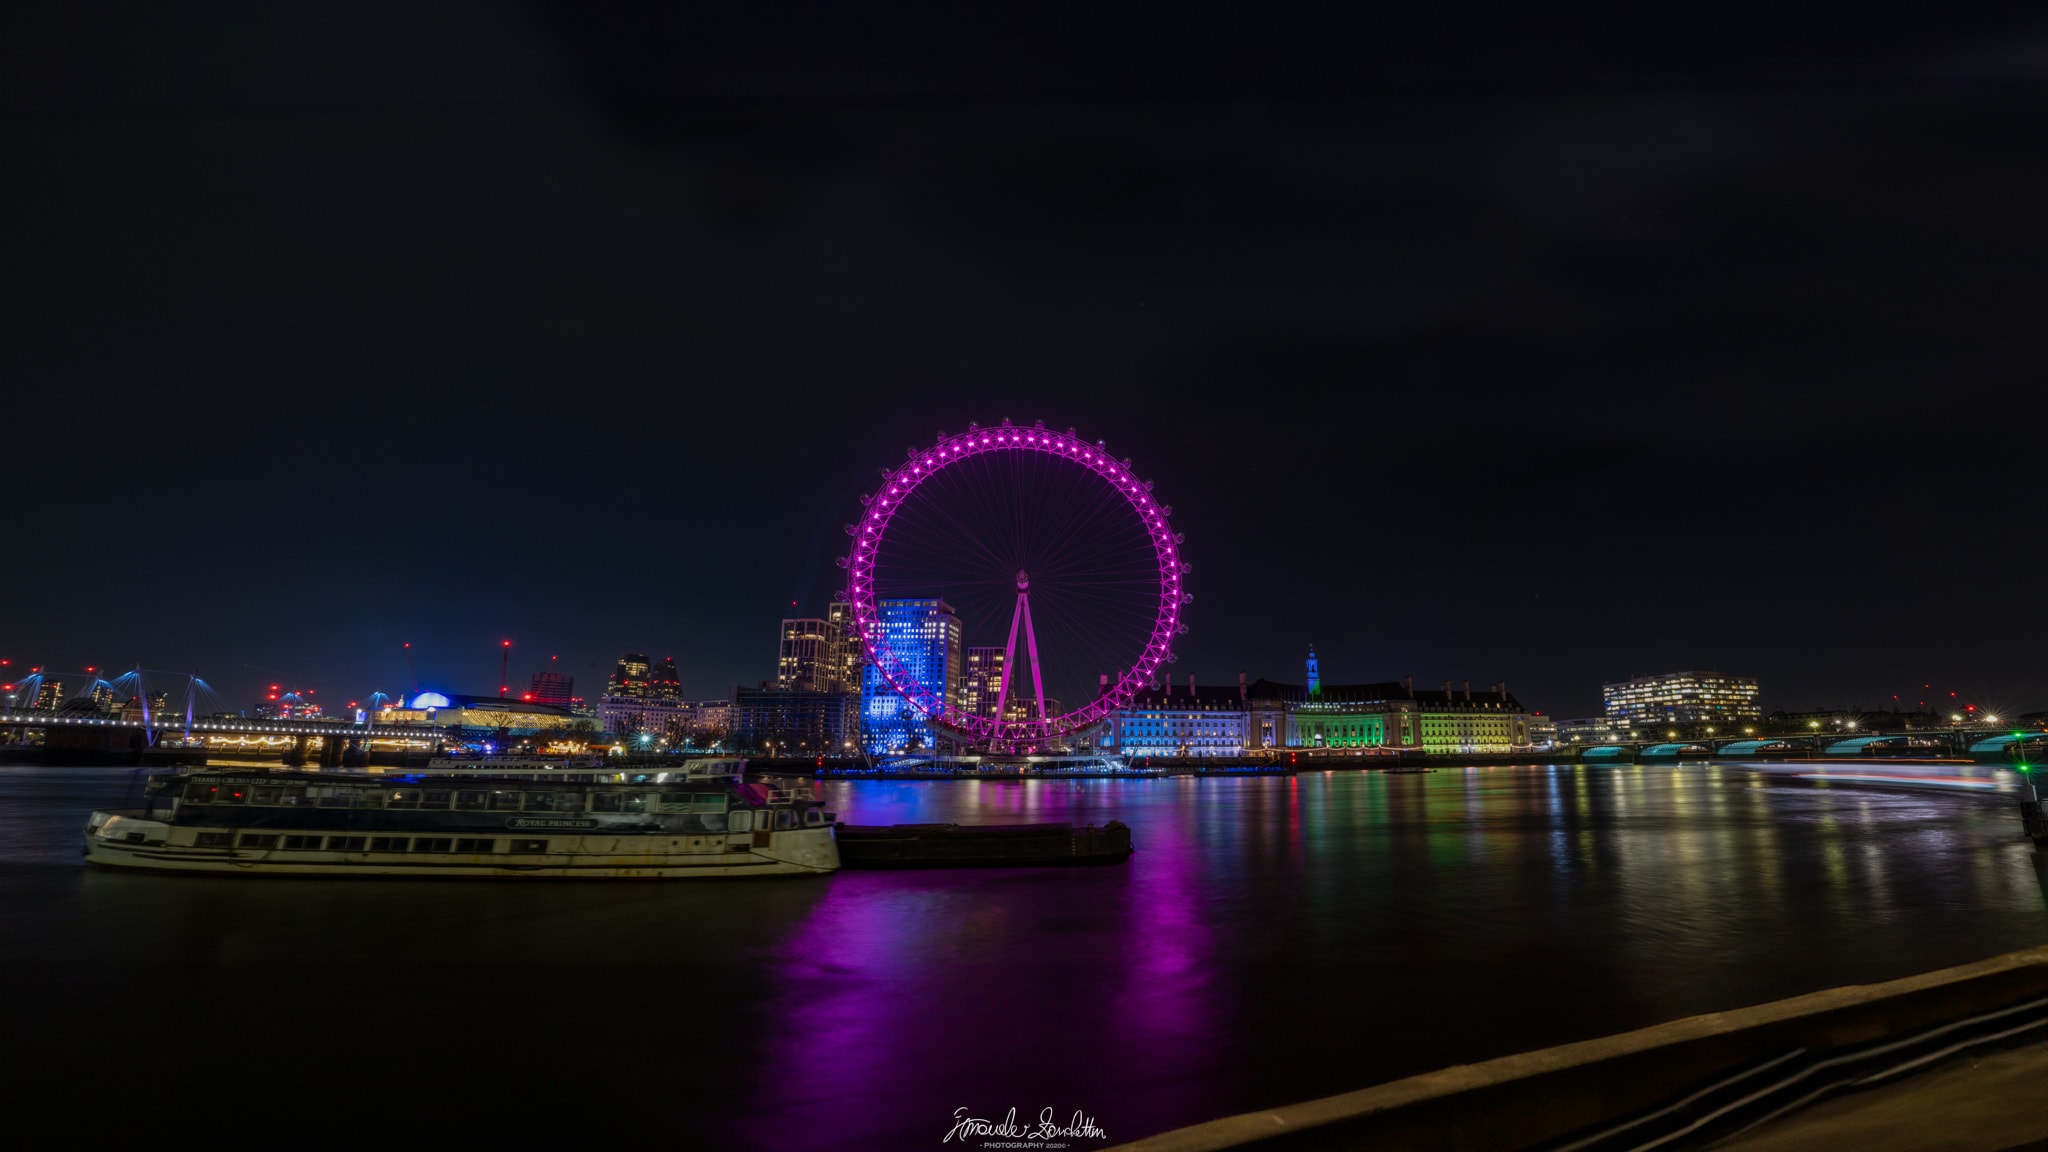
A tripod is not essential for every night photograph, but it is the most dependable way to make a deliberate long exposure. It lets you keep ISO low, choose the aperture for depth or starbursts, refine the edges of the composition and repeat a frame without changing position. The Thames photographs below use 30 seconds and 15 seconds: neither can tolerate casual camera movement.
Stability is more than extending the legs. Use firm ground, keep the centre column low when possible, secure or remove a swinging strap, and avoid touching the camera during the exposure. A two-second timer or remote release prevents the press of the shutter from moving the camera. On bridges, platforms and pavements, passing traffic or people can vibrate the support, so inspect the first result at high magnification before assuming it is sharp.
No tripod? Use the support around you
I have used a backpack, chair, bin, fence, floor and wall when a tripod was not available. The principle is always the same: stop the camera moving. Rest it on something solid, use the bag as a soft wedge to adjust the angle, start the exposure with the timer and keep your hands away. For a handheld frame, brace your elbows, lean against a wall, control your breathing and make a short burst so you can compare the results later.
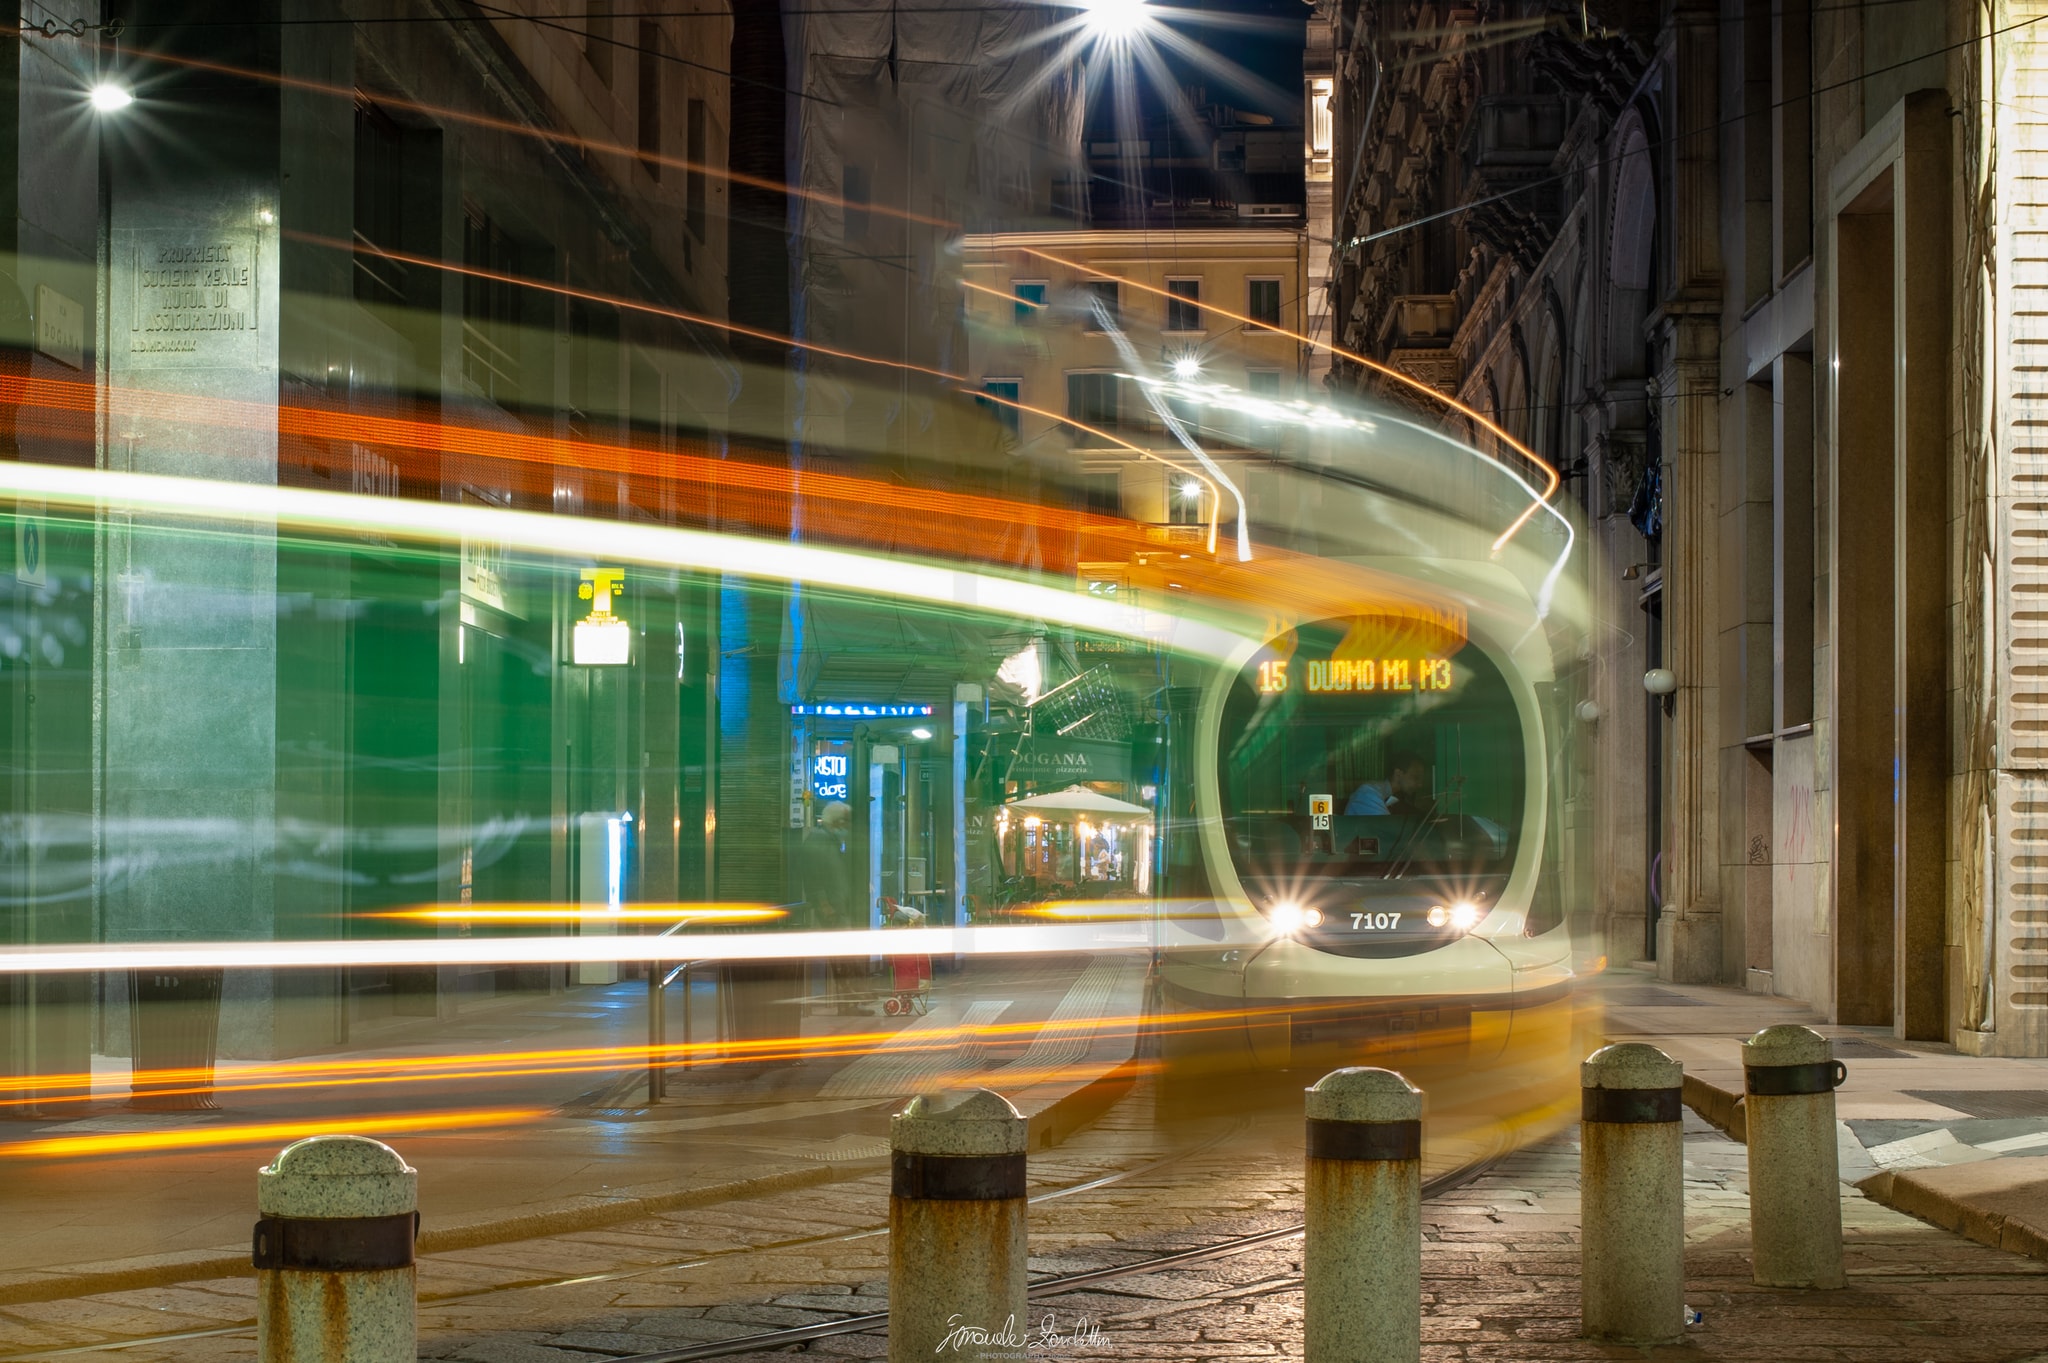
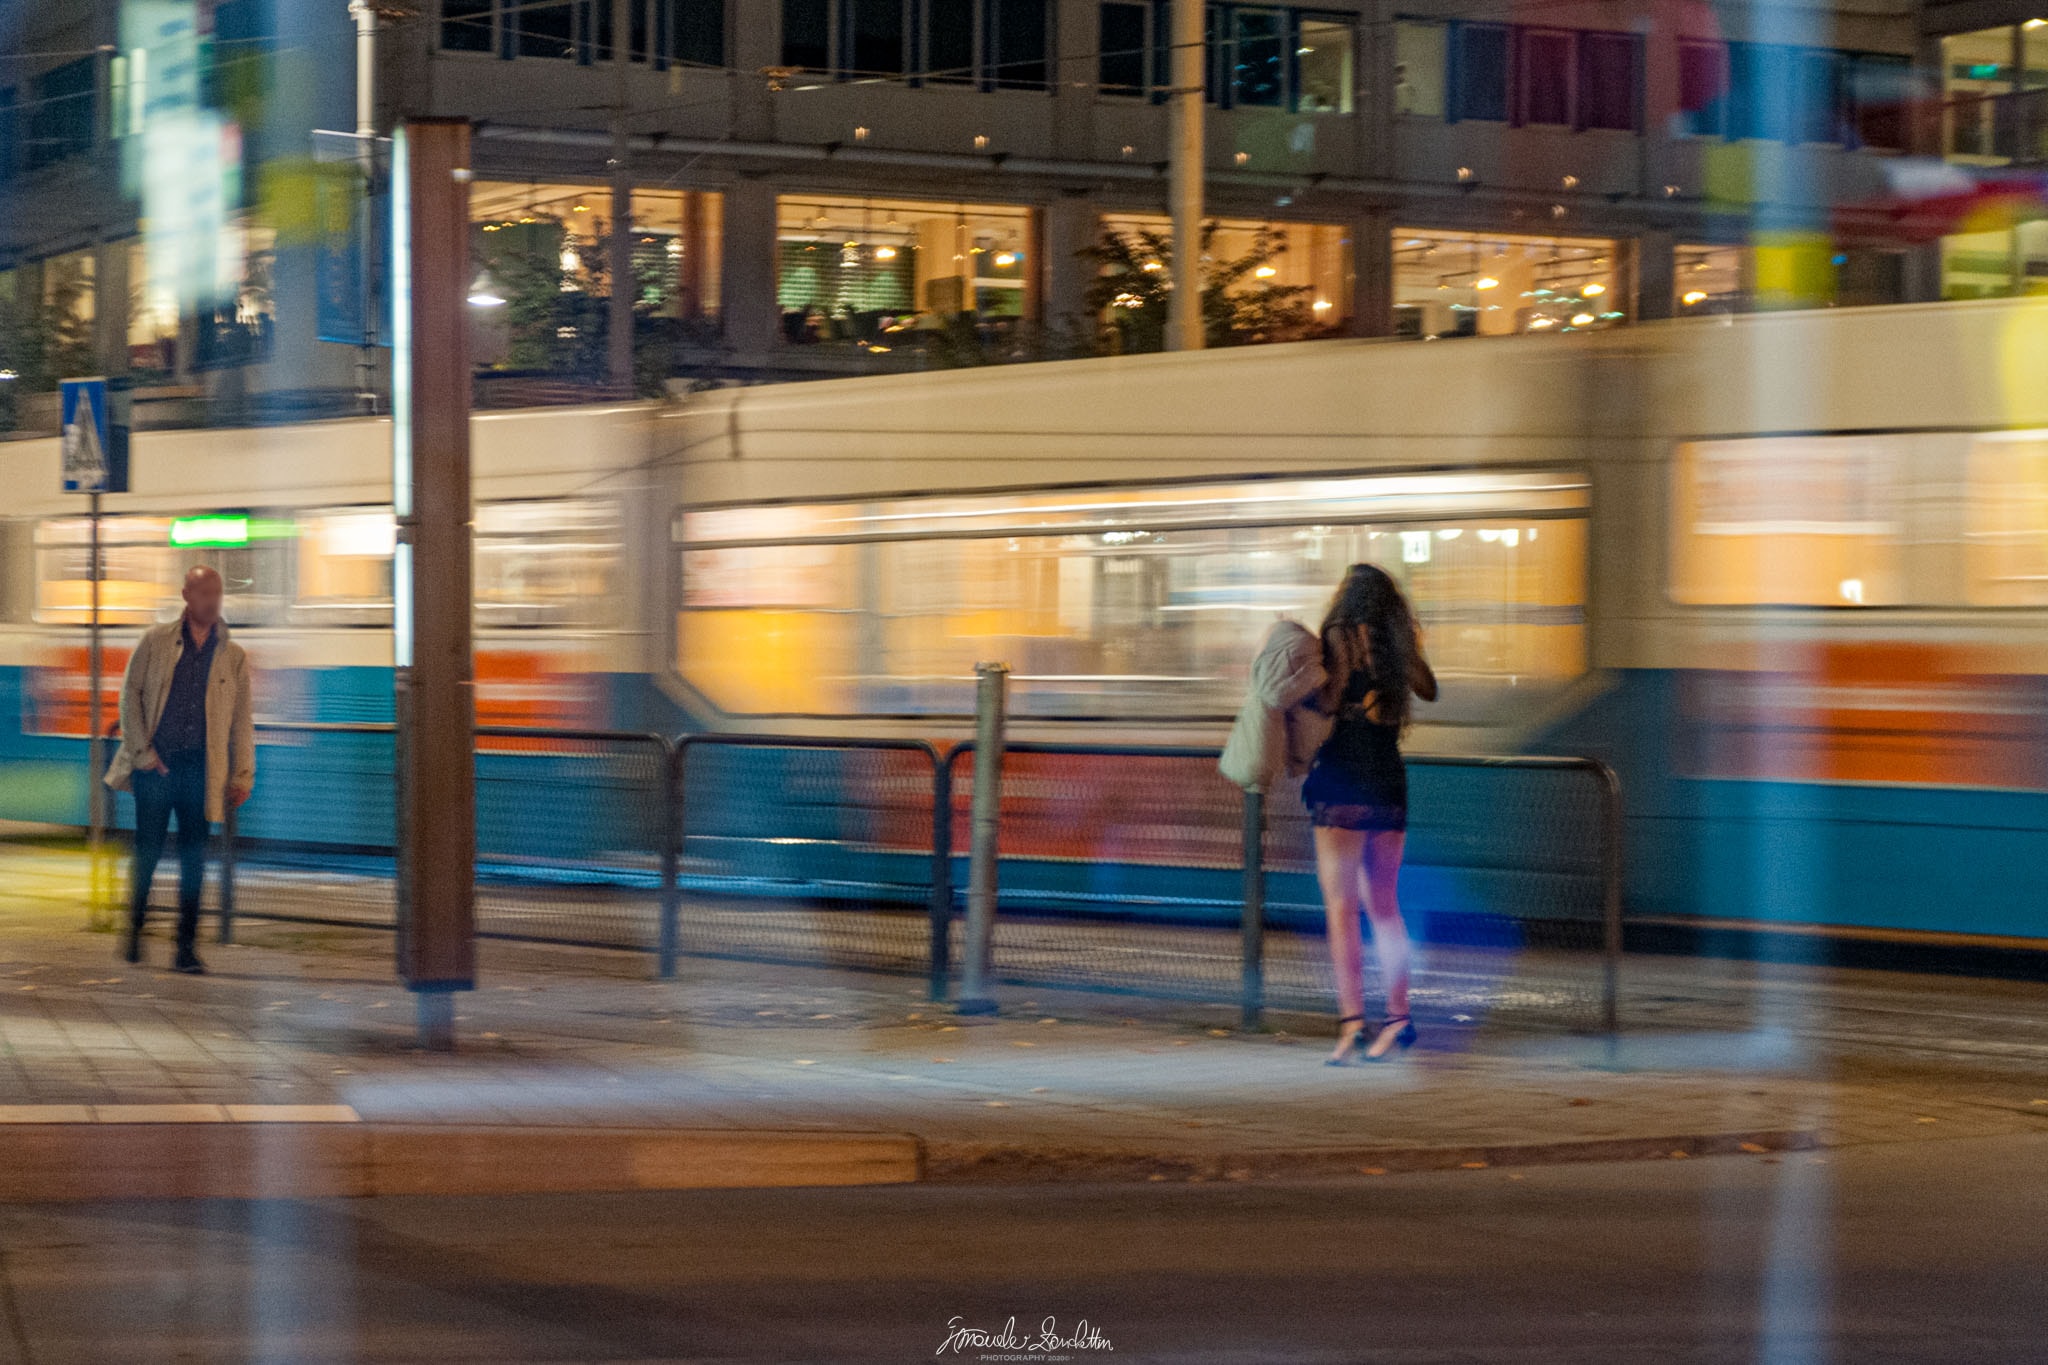
The street photograph records 1/4 second at f/2.8, ISO 800 and 50 mm. Those settings accept more noise and a shallow depth of field in exchange for a much shorter exposure than the tripod examples. The passing tram becomes a band of motion while the waiting figures remain recognisable. This is not a lesser solution; it is a different decision about what must stay still.
- Use only a clean, stable surface that cannot tip, roll or vibrate.
- Keep the camera and strap away from paths, traffic, water and places where they could fall.
- Do not block access or assume that private furniture and structures are available without permission.
- Check the camera manual before leaving lens or body stabilisation active on a completely rigid support.
- If no safe support exists, raise ISO and use a faster shutter speed rather than risking the equipment or an unusable frame.
Let motion become the subject
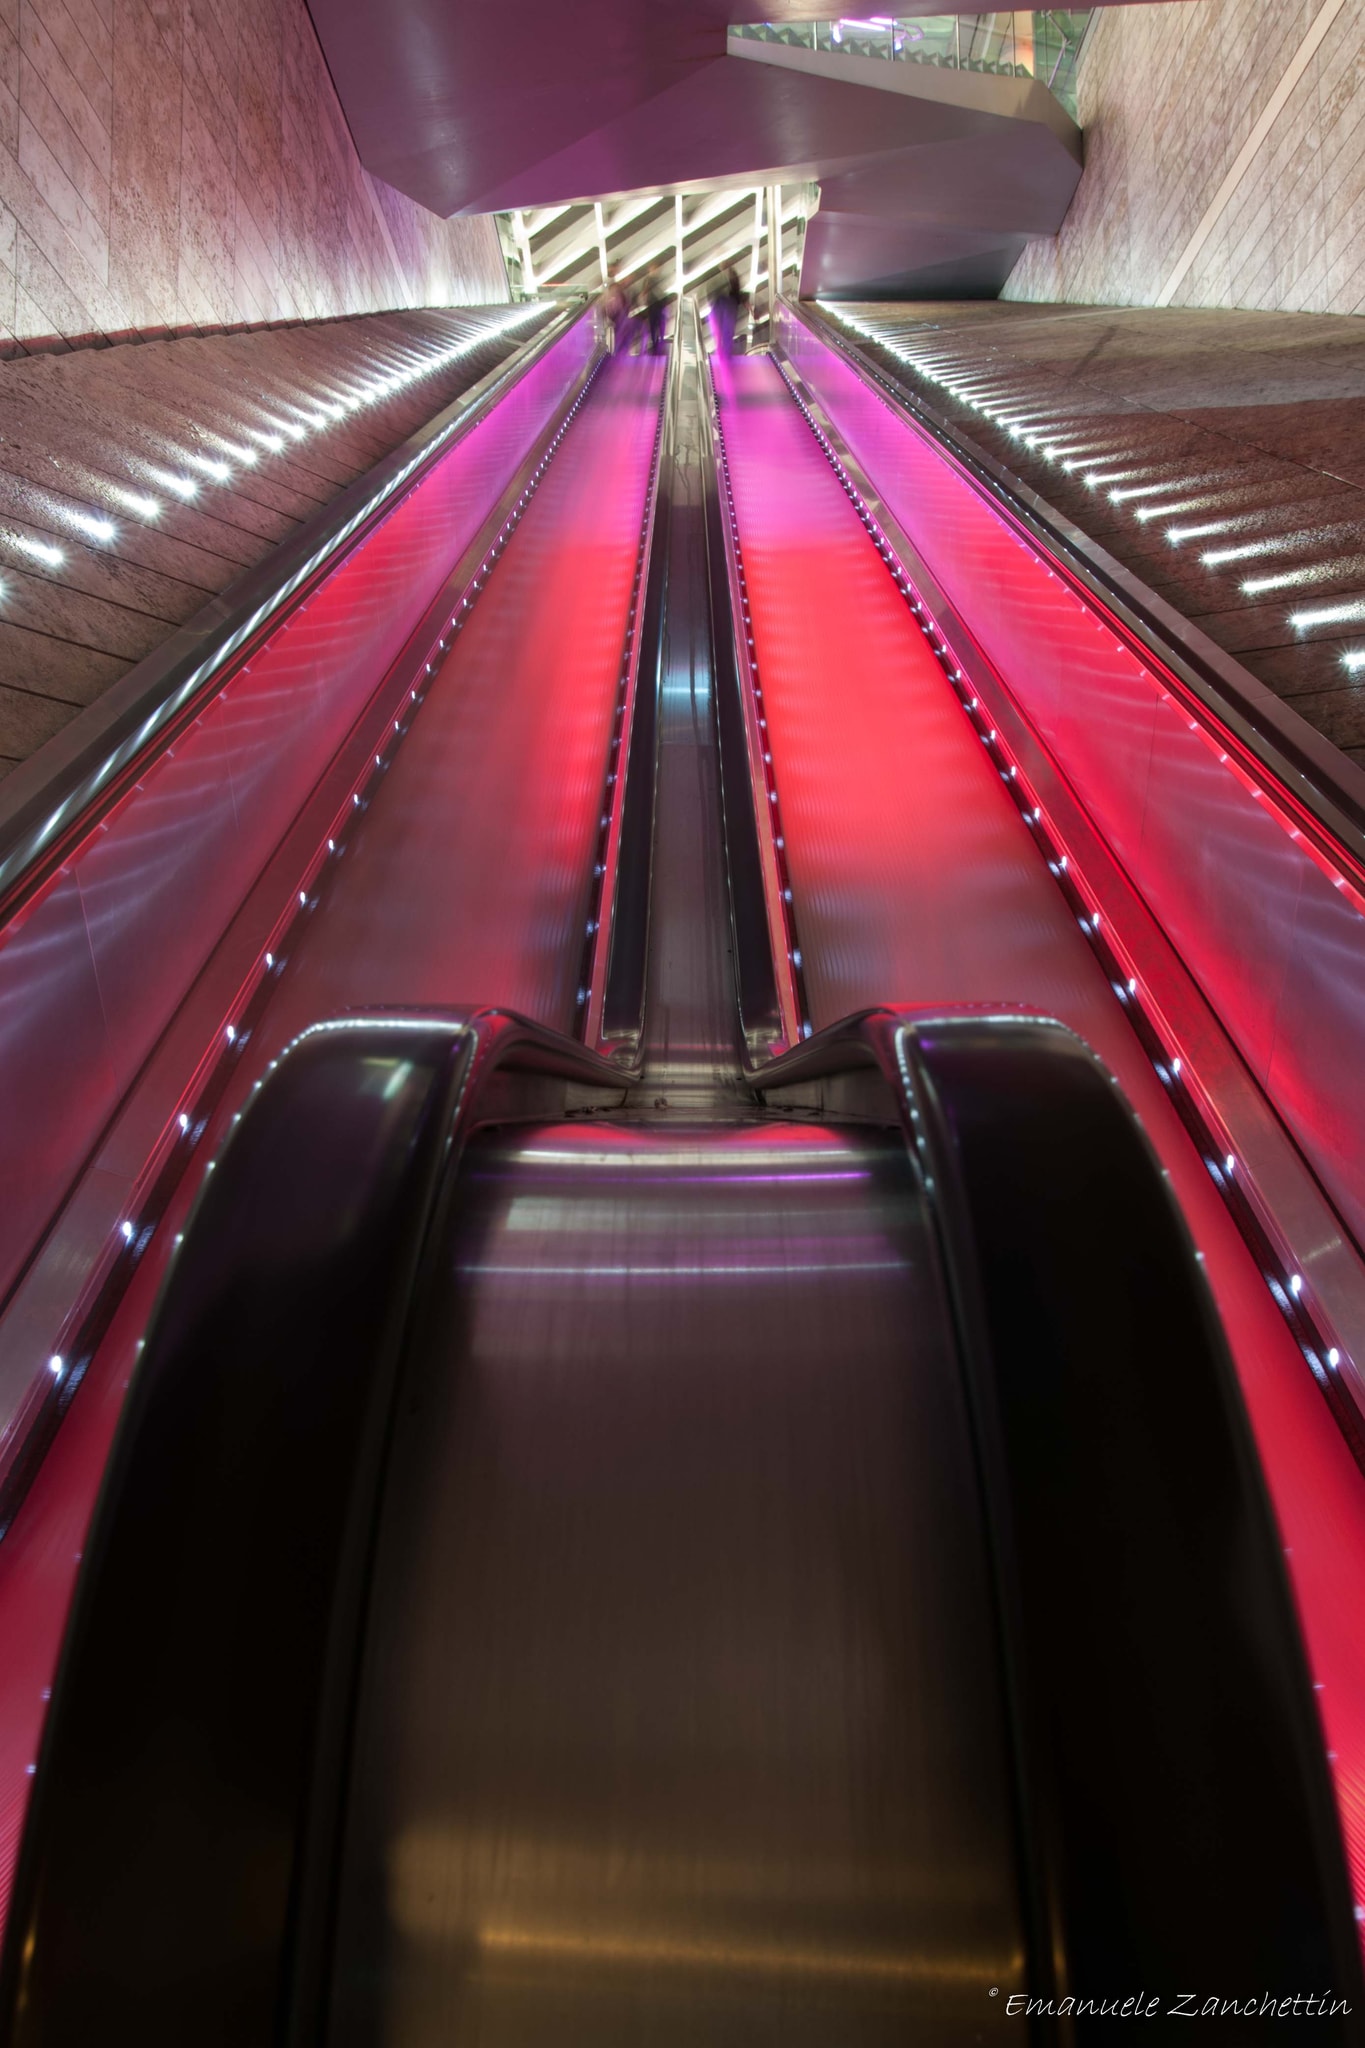
The opening tram photograph uses 15 seconds at f/16 and ISO 100. The street and bollards remain fixed while vehicles draw several paths through the frame. In the escalator photograph, 30 seconds at f/10 and ISO 100 smooths the moving steps and leaves only a trace of the people near the top. In both cases the camera must be stable precisely because the subject is allowed to move.
Make a test frame, then change one thing at a time. A shorter exposure gives a moving object more shape; a longer one makes its path more continuous. There is no universal correct number because speed, distance and direction all change the result. If the opportunity passes, study the frame anyway. It becomes information for the next night rather than proof that the experiment failed.
Protect the lights and check the focus
Night scenes often contain a wider brightness range than they first appear to. Expose so that important illuminated signs and architectural detail do not lose all texture; let unimportant shadows remain dark when they help the mood. Use the histogram and highlight warning, but judge the picture as well: a bare bulb may clip even when the exposure is otherwise right.
Autofocus needs contrast. Focus on a lit edge at the same distance as the subject, enlarge live view to confirm it and switch to manual focus if the camera keeps searching. Check again after moving or zooming. White balance can be technically difficult under mixed LEDs, street lamps and shop light, so choose a believable colour relationship rather than expecting every source to become neutral.
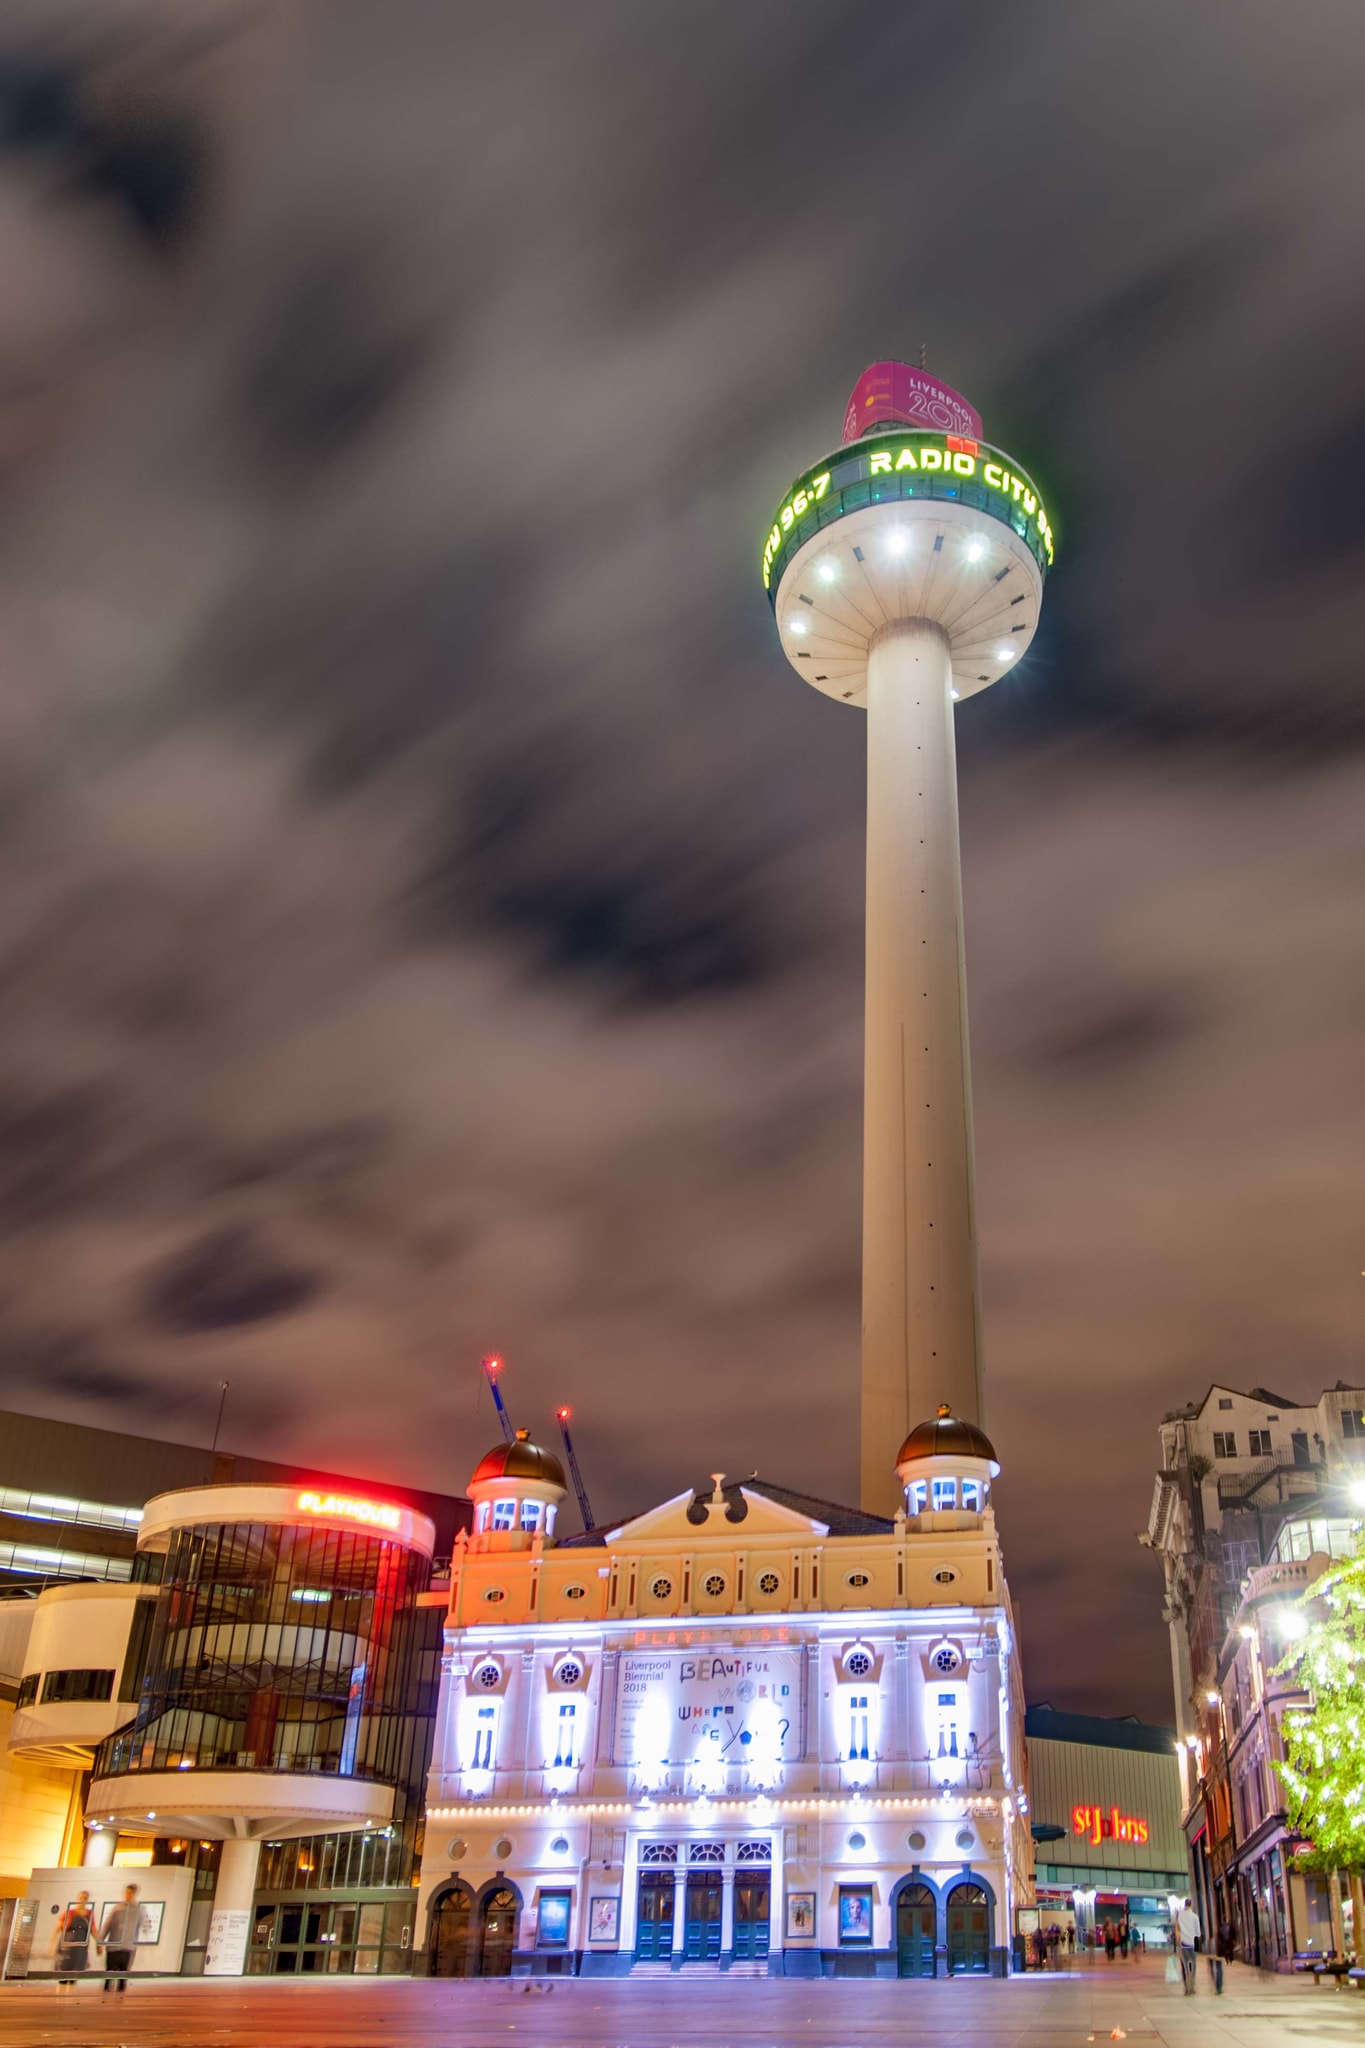
The Radio City file records 1 second at f/2.8, ISO 100 and 18 mm, but its supplied filename identifies it as an HDR export. Those embedded settings describe the file, not necessarily every exposure used to create the finished photograph. That distinction matters whenever a final image may combine more than one capture.
Stay long enough for the story
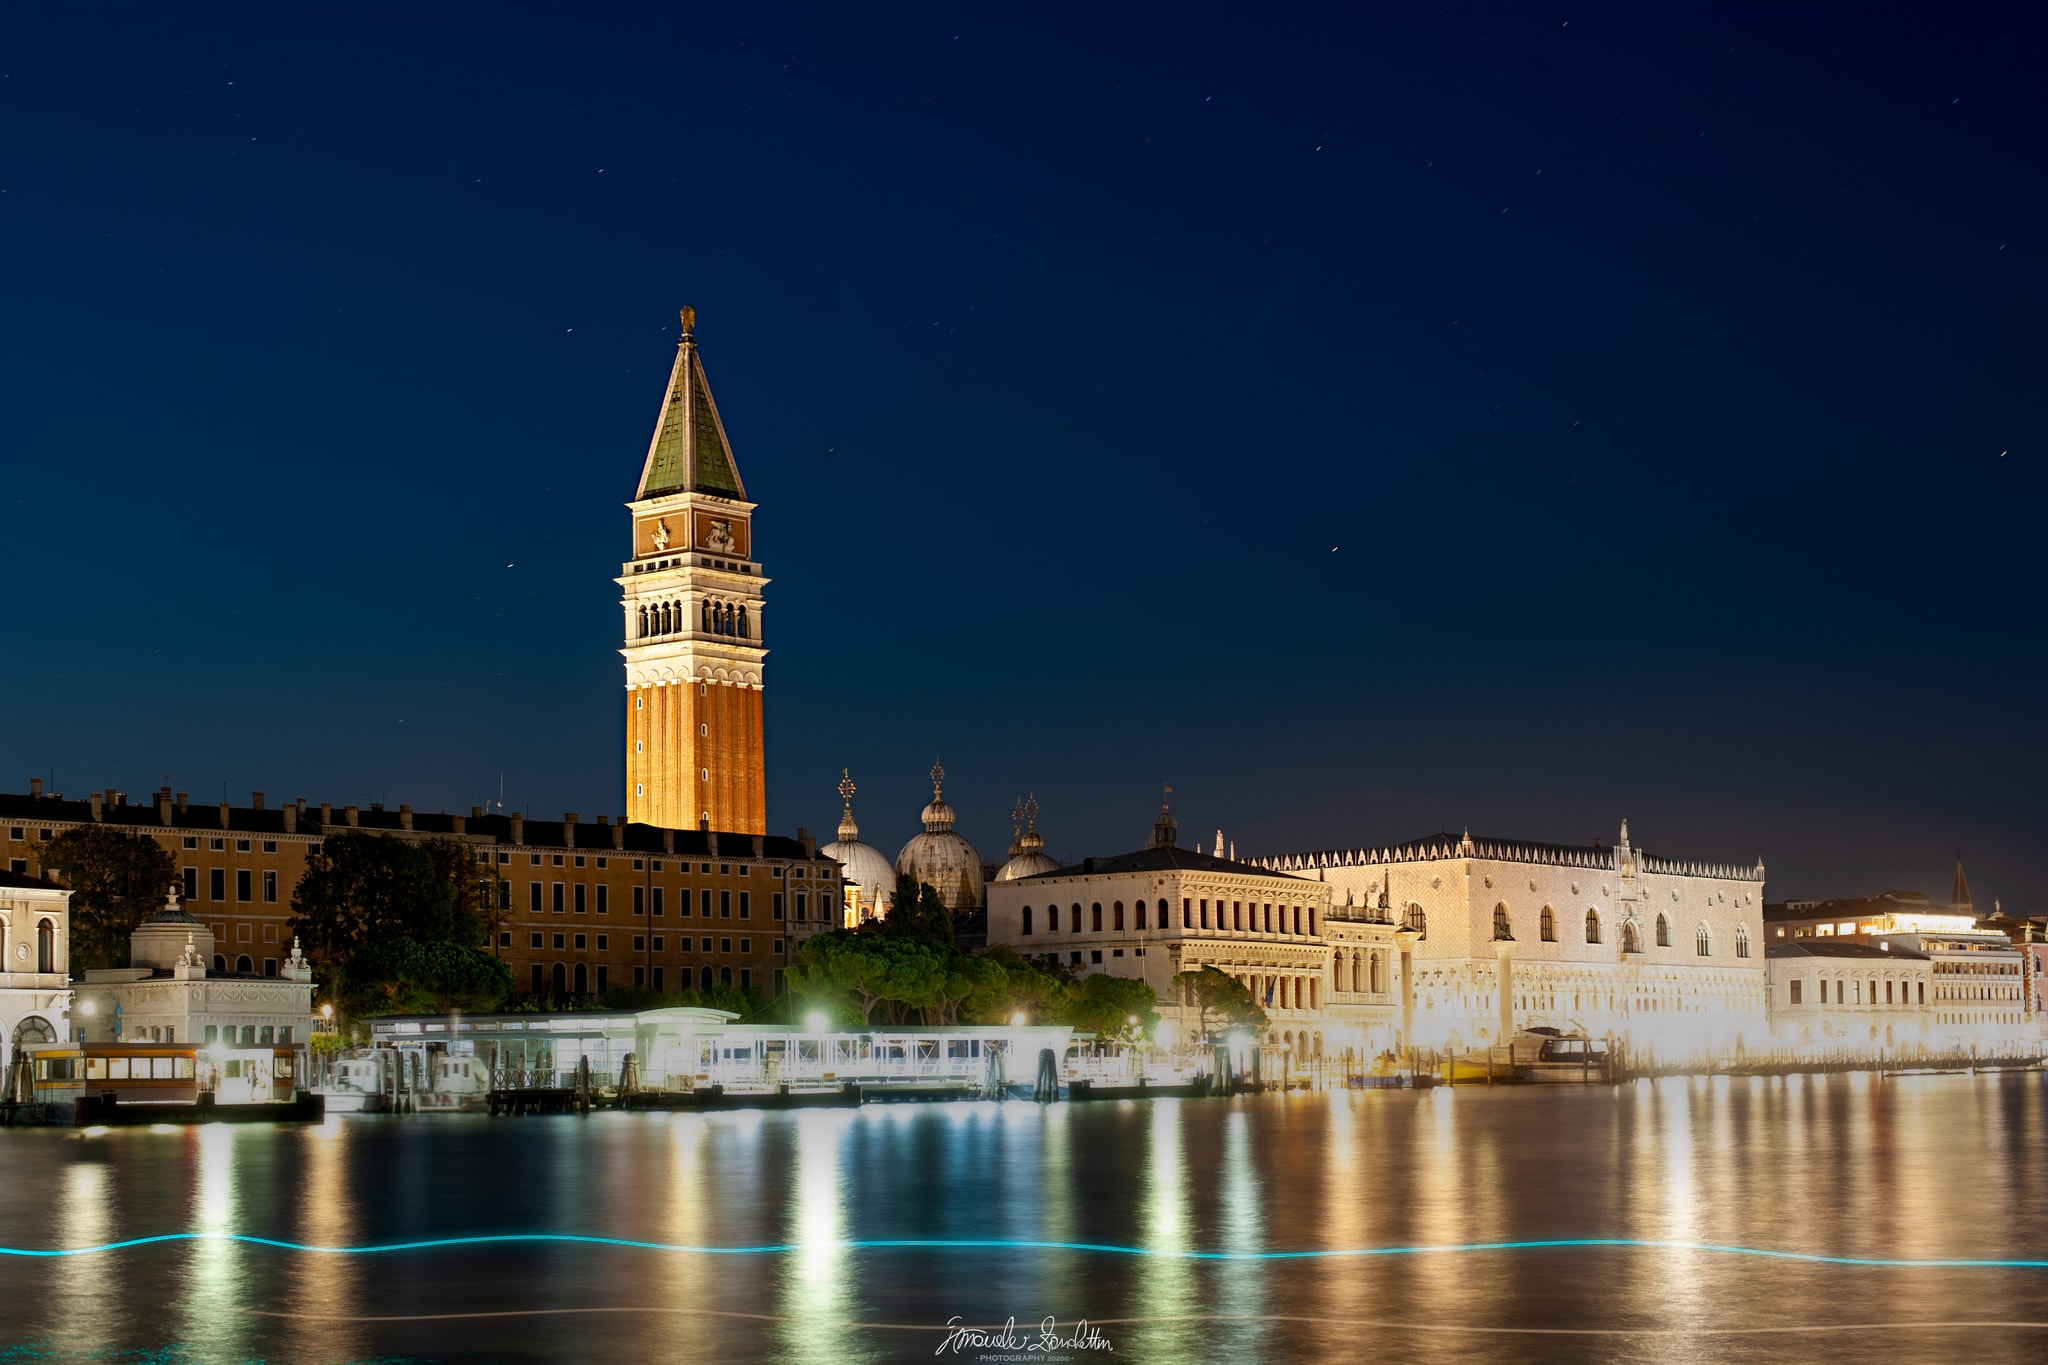
Night photography rewards patience. A location changes as offices switch off, traffic thins, clouds move and boats or people enter the frame. The Venice photograph, titled “No Time to Rush”, uses 30 seconds at f/4, ISO 100 and 50 mm. The waterfront is still, but a thin blue light trace tells us that something passed through the scene.
Make the technically safe frame first, then wait. Try a second exposure when the balance changes and a third when something unexpected enters. You may forget that you should go to bed, but keep enough attention for the journey home: work with someone when appropriate, stay in public permitted places and never let the search for a photograph override personal safety.
Readers’ thoughts
Approved comments only · Shared across the English and Italian versions